Watling Street (61 AD)
This is the ninth scenario in our campaign representing the Roman Invasion of Britain based on my own campaign rules.
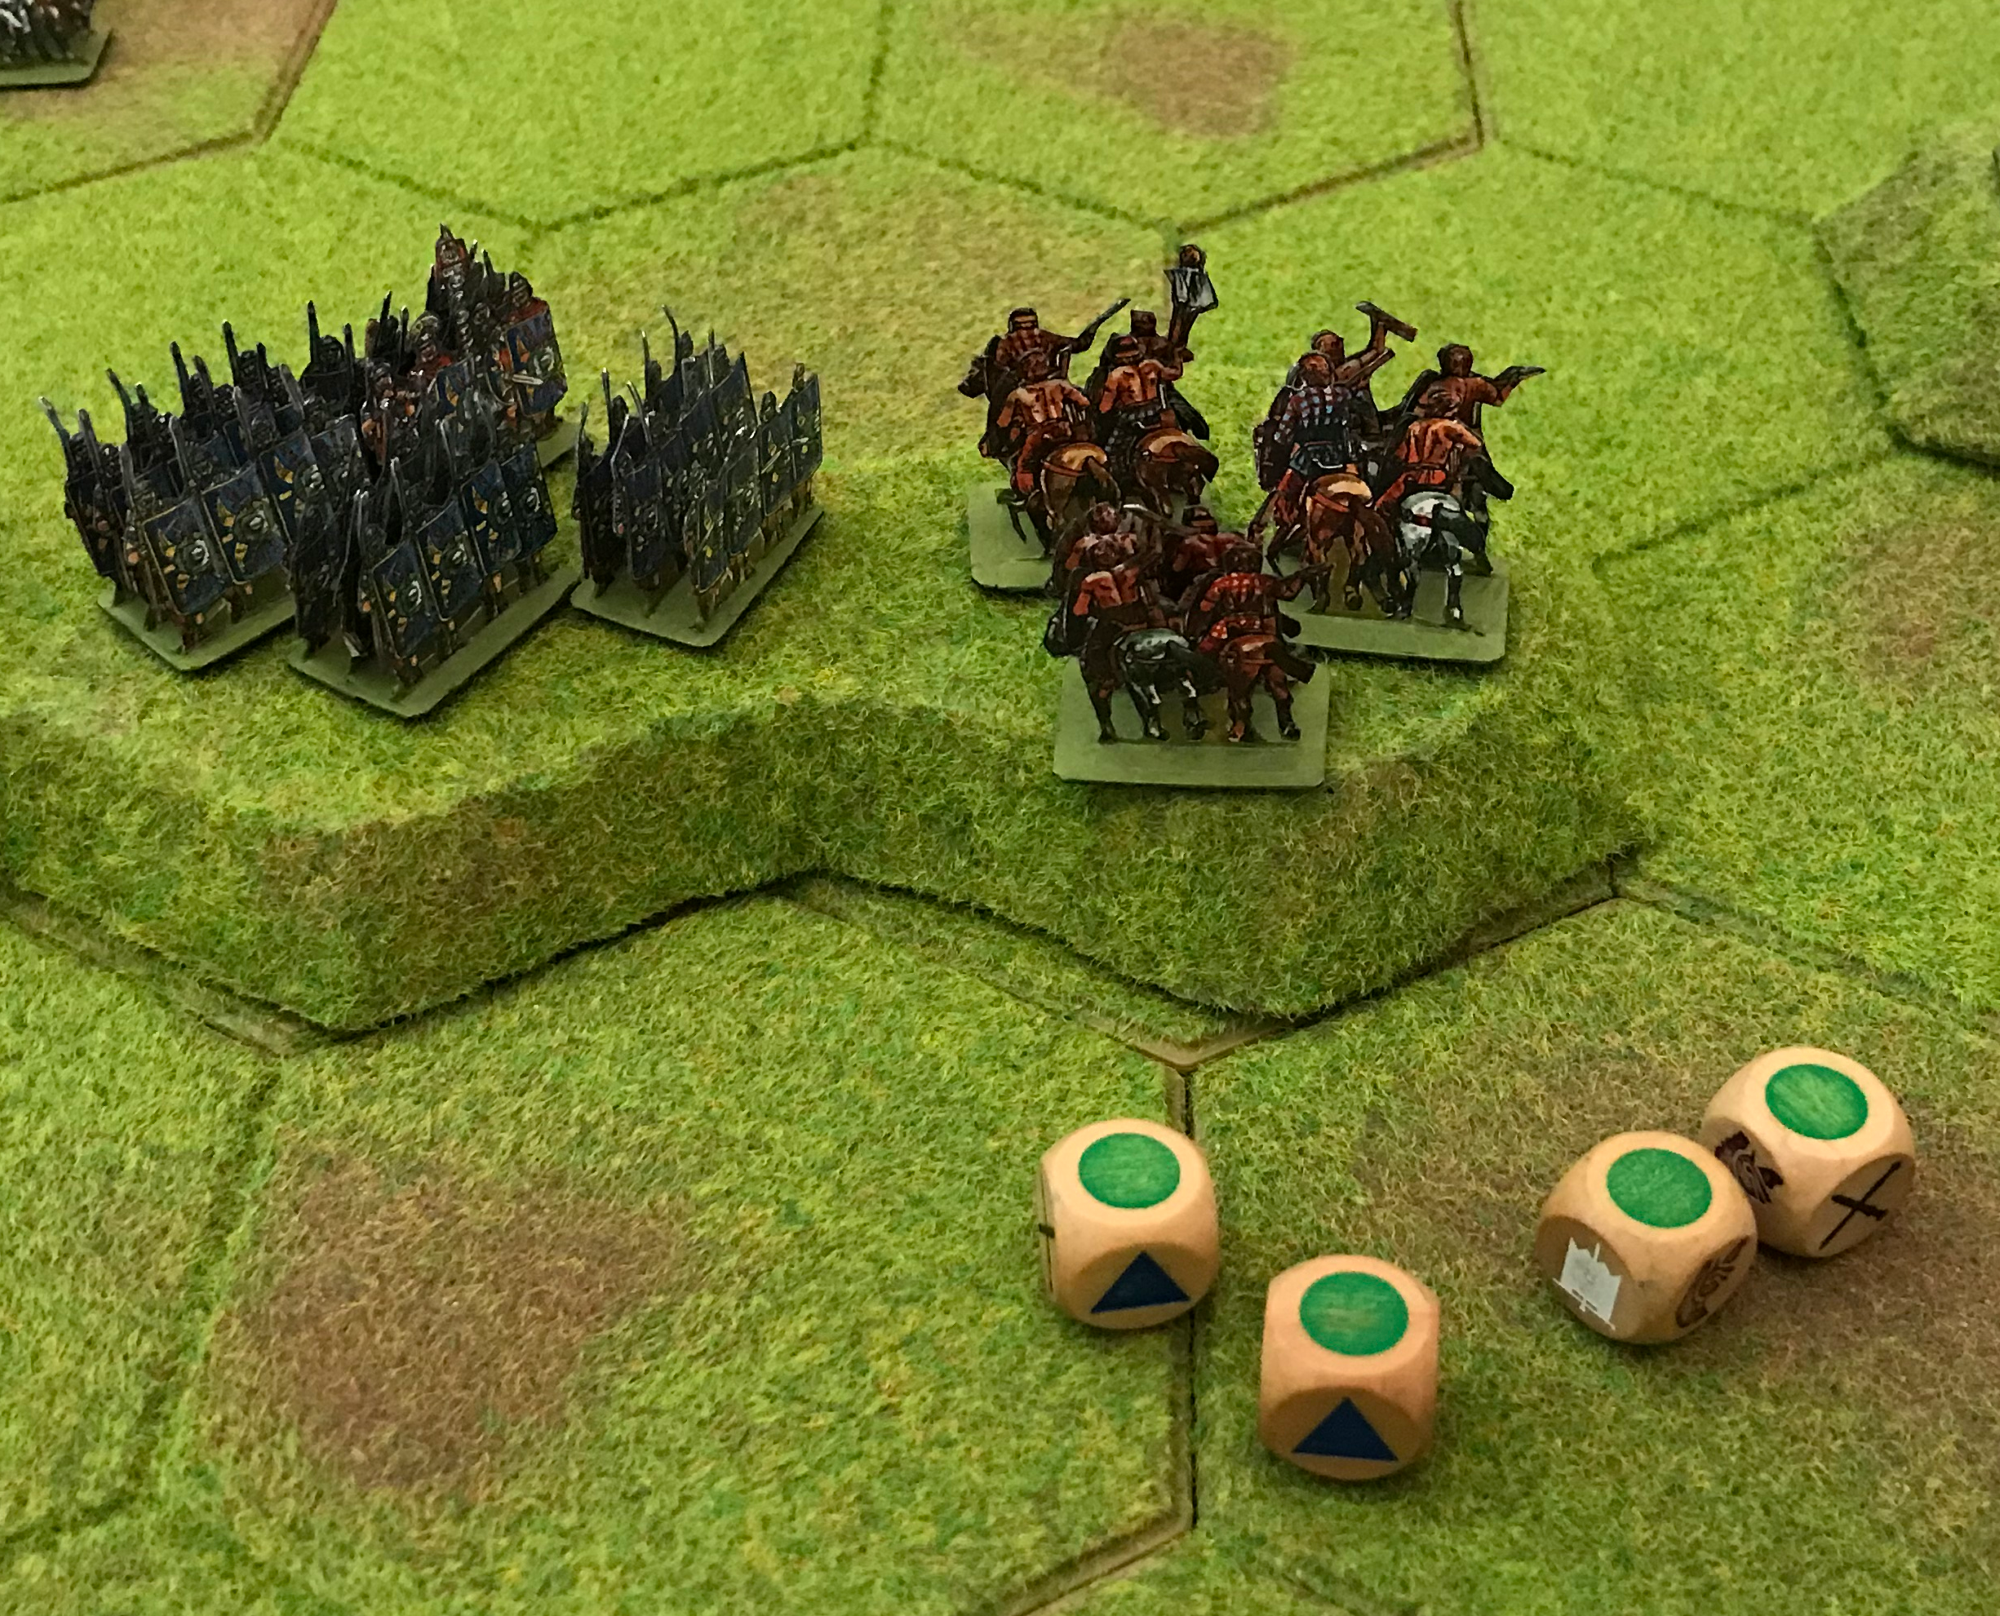
The scenario was played using the Commands & Colors Ancients rules but on hex terrain from Kallistra and using paper figures from Peter Dennis instead of blocks.
While many of the tribes of Britain resisted Rome until they were conquered and crushed, a few tribes, like the Iceni, formed pacts with the Romans to remain semi-independent. The Iceni client-king Prasutagus died while the Roman governor, Gaius Suetonius Paulinus, was campaigning in what is now northern Wales. In Suetonius’ absence, the procurator, Catus Decianus, took advantage of these to events seize lands, recall loans, and generally revoke all the advantages the clients had obtained from Claudius. When Prasutagus’ widow, Boudica, complained, she was flogged and her young daughters raped in front of her. Instead of suppressing dissent these barbarous acts fanned the fires of revolt. The Iceni, Trinovantes, and others rose up, sacking the legion colony of Camulodunum, defeating several small Roman forces, burning Londinium and Verulamium (St. Albans), and killing as many as 70,000 people.
Suetonius summoned reinforcements from all over Britain until he was strong enough to fight on a carefully selected defensive position offering a narrow front that would minimize the enemy numbers. Flushed with success, Boudica’s Celtic host may have numbered as many as 50,000 fighting men, followed by their families and baggage wagons loaded with plunder. She deployed these wagons at the rear of her army. The men would fight all the harder knowing that their families were watching and would be in grave danger if the Romans triumphed.
 |
| Boudica in her chariot with the families and their baggage wagons |
The Britons launched a massive frontal attack. Suetonius held his forces in place. As the charging Britons neared the Roman line, they were staggered and stopped by a storm of pila. Only then did the Romans attack the confused Britons, driving them back onto their wagons and cutting them down by the thousands. The exact location of the battle is uncertain, but most commonly held to have taken place at what the Anglo-Saxons called “Watling Street,” hence the anachronistic name.

This is a modified scenario based on 408 Boudica's Revolt from Commands & Colors Ancients - Expansion 4. As statistics showed that the Romans had a 91% chance of winning this scenario, I have adjusted it slightly to make it more balanced. Two Roman HI infantry units have been downgraded to MI and the Boudica Special Rule has been added.
 |
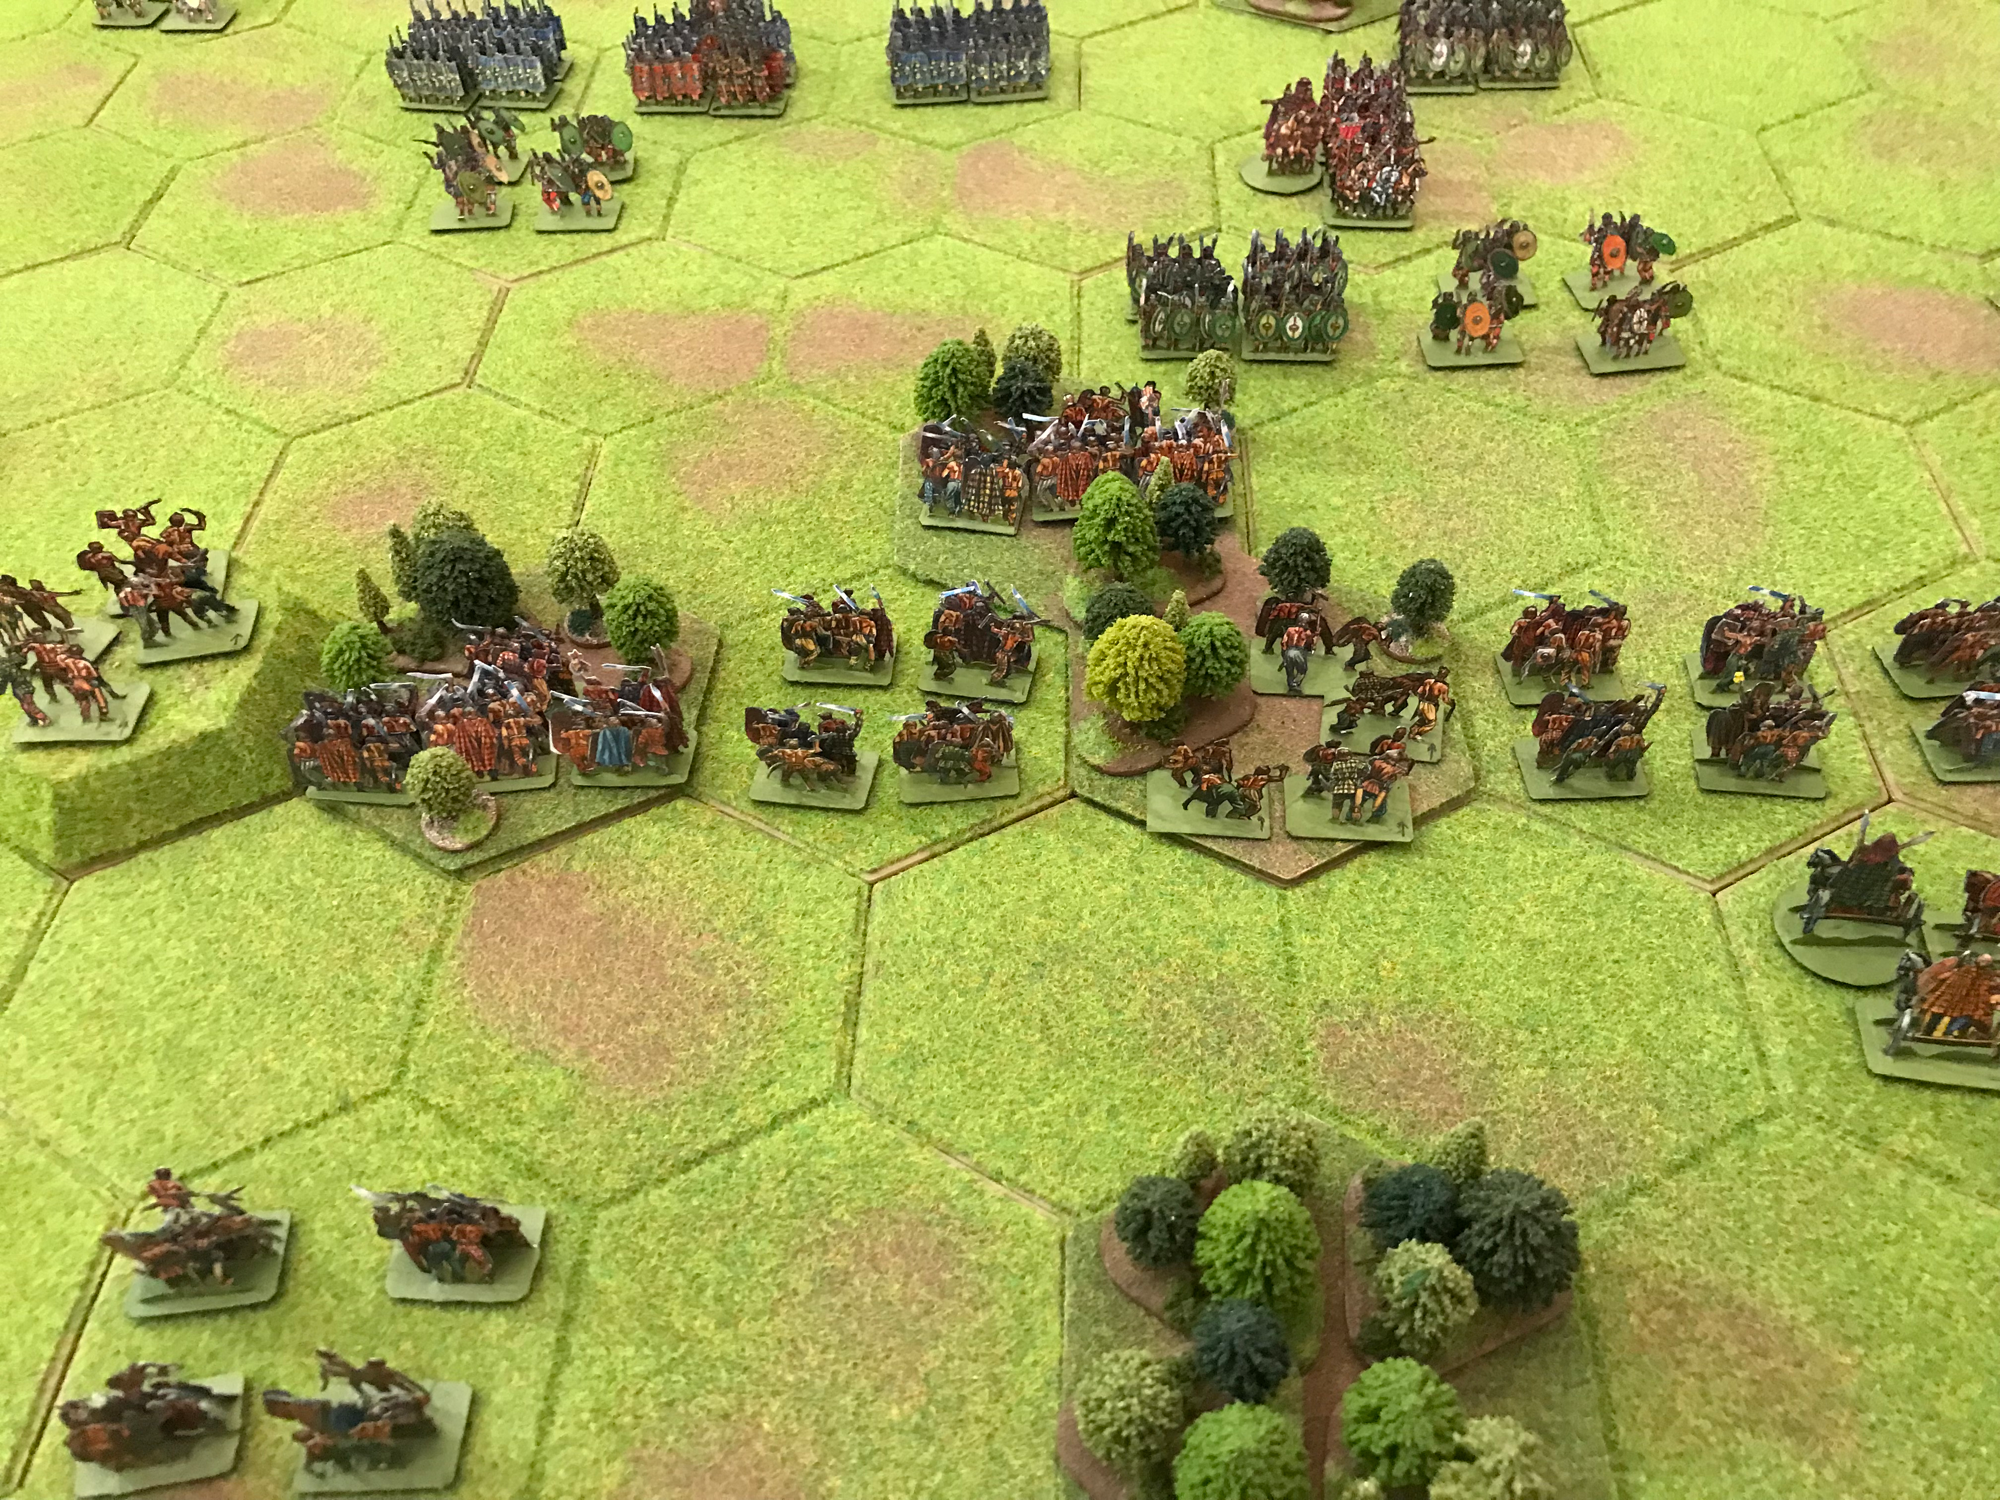
| The set-up |
Suetonius addressed his troops, "Ignore the racket made by these savages. There are more women than men in their ranks. They are not soldiers - they're not even properly equipped. We've beaten them before and when they see our weapons and feel our spirit, they'll crack. Stick together. Throw the javelins, then push forward: knock them down with your shields and finish them off with your swords. Forget about plunder. Just win and you'll have everything."
Suetonius started the battle by ordering his light troops. The two bow units started shooting at the Britons but without any noticeable effect, while a unit of auxilia on each flank advanced into the woods.

On their right flank, the Britons advanced 3 units into the woods to counter the Roman advance.

The Romans attacked the British in the woods, both sides taking losses. The Roman archers on the hill, shot at the British light troops causing them to retire with losses.

The British moved forward two units on their left flank, to threaten the Romans advancing in the woods.
Suetonius ordered his bowmen to shoot at the Britons, while his auxilia in the woods went on the attack.

On the British left flank, their troops in the wood attacked the Romans.

The first British attack was beaten back, but finally the warriors pushed the auxilia out of the woods.

The Roman general commanding their right flank, ordered units of legionaries and cavalry forward to support the auxilia in the woods. The legionaries attacked the British warriors, both sides taking losses.
Boudica ordered her warriors to attack. This they did by the woods on both flanks.

The left flank was successful, causing the legionaries to retreat with heavy losses.

But on the right, the stalemate in the woods continued.

The Roman commander ordered a mounted charge, and his left flank cavalry attacked the Britons in the woods.

One unit of Britons was destroyed, but for a loss of one unit of Roman cavalry. The Romans decided not to follow up their gains and advance into the woods.

Boudica order the British mounted to attack. On the left flank two units of light cavalry charged the lone Roman medium cavalry.

The Roman cavalry retreated with loss. One unit of British cavalry retreated with serious losses.

While on the right flank, the British cavalry and chariots moved forward in preparation to attack the Romans.

The Roman general ordered his troops on the left. The legionaries advanced, the cavalry moved behind them in support and the auxilia attacked the British warriors in the woods.

The warriors withdrew after taking casualties.

Boudica commanded two foot units on the right flank, to attack the auxilia in the woods and push them out. She rode up in her chariot to encourage them.

The British attack was not successful, bot sides took heavy losses, but the auxilia held on to the woods.

The Romans attacked the lone British light cavalry, pushing them back to their own lines.

Boudica took command and finally wiped out the auxilia.

The Romans counterattacked, changing the lone warrior and eliminating it.
Boudica ordered a mounted charge, leading her chariots into the attack.

The legionaries fled with losses, and Boudica continued charging straight into the cavalry behind them which lost half their strength.

The Roman command ordered his legionaries to double time and attack the British mounted, which the British evaded with slight losses.

Boudica then led her chariots forward to attack the Roman cavalry.

The cavalry were destroyed and their commander fled to the safety of the legionaries to their rear.

Yet again, the legionaries double-timed to attack the British

The chariots couldn't evade, and together with some supporting infantry were destroyed. Boudica retreated back into a unit of warriors.

While this was happening, on the British left, the warriors were still trying to push the Roman auxilia out of the woods. Both sides took losses, but the auxilia hung on.

The Roman legionaries advanced in line to attack Boudica and her warriors, the warriors were destroyed and Boudica fled.

British chariots and light horse charged the Roman cavalry.

And wiped them out without loss.

The Romans ordered their medium infantry to see off the British light horse, these attempted to evade.

However one unit was not quick enough, and was caught in a hail of roman pila.
The Britons were demoralised and fled the field.

Boudica managed to escape in her chariot, but later committed suicide rather than be captured.
Despite the victory, the emperor Nero was so shaken by these events that he considered withdrawing from Britain altogether. Fearing Suetonius' punitive policies would provoke further rebellion, Nero replaced him with the more conciliatory Publius Petronius Turpilianus.
The defeat of Boudica ensured Roman rule in southern Britain; however, northern Britain remained volatile.
Scenario Result
Roman Victory: Romans 8 - Britons 5
Romans 8 victory banners and 2 glory points
Britons 5 victory banners and 1 glory point
Campaign Result
| Victories | Banners | |
|---|---|---|
| Romans | 3 | 43 |
| Britons | 6 | 49 |