This is the first of two scenarios to refight the campaign of Germanicus against the Germanic tribes.
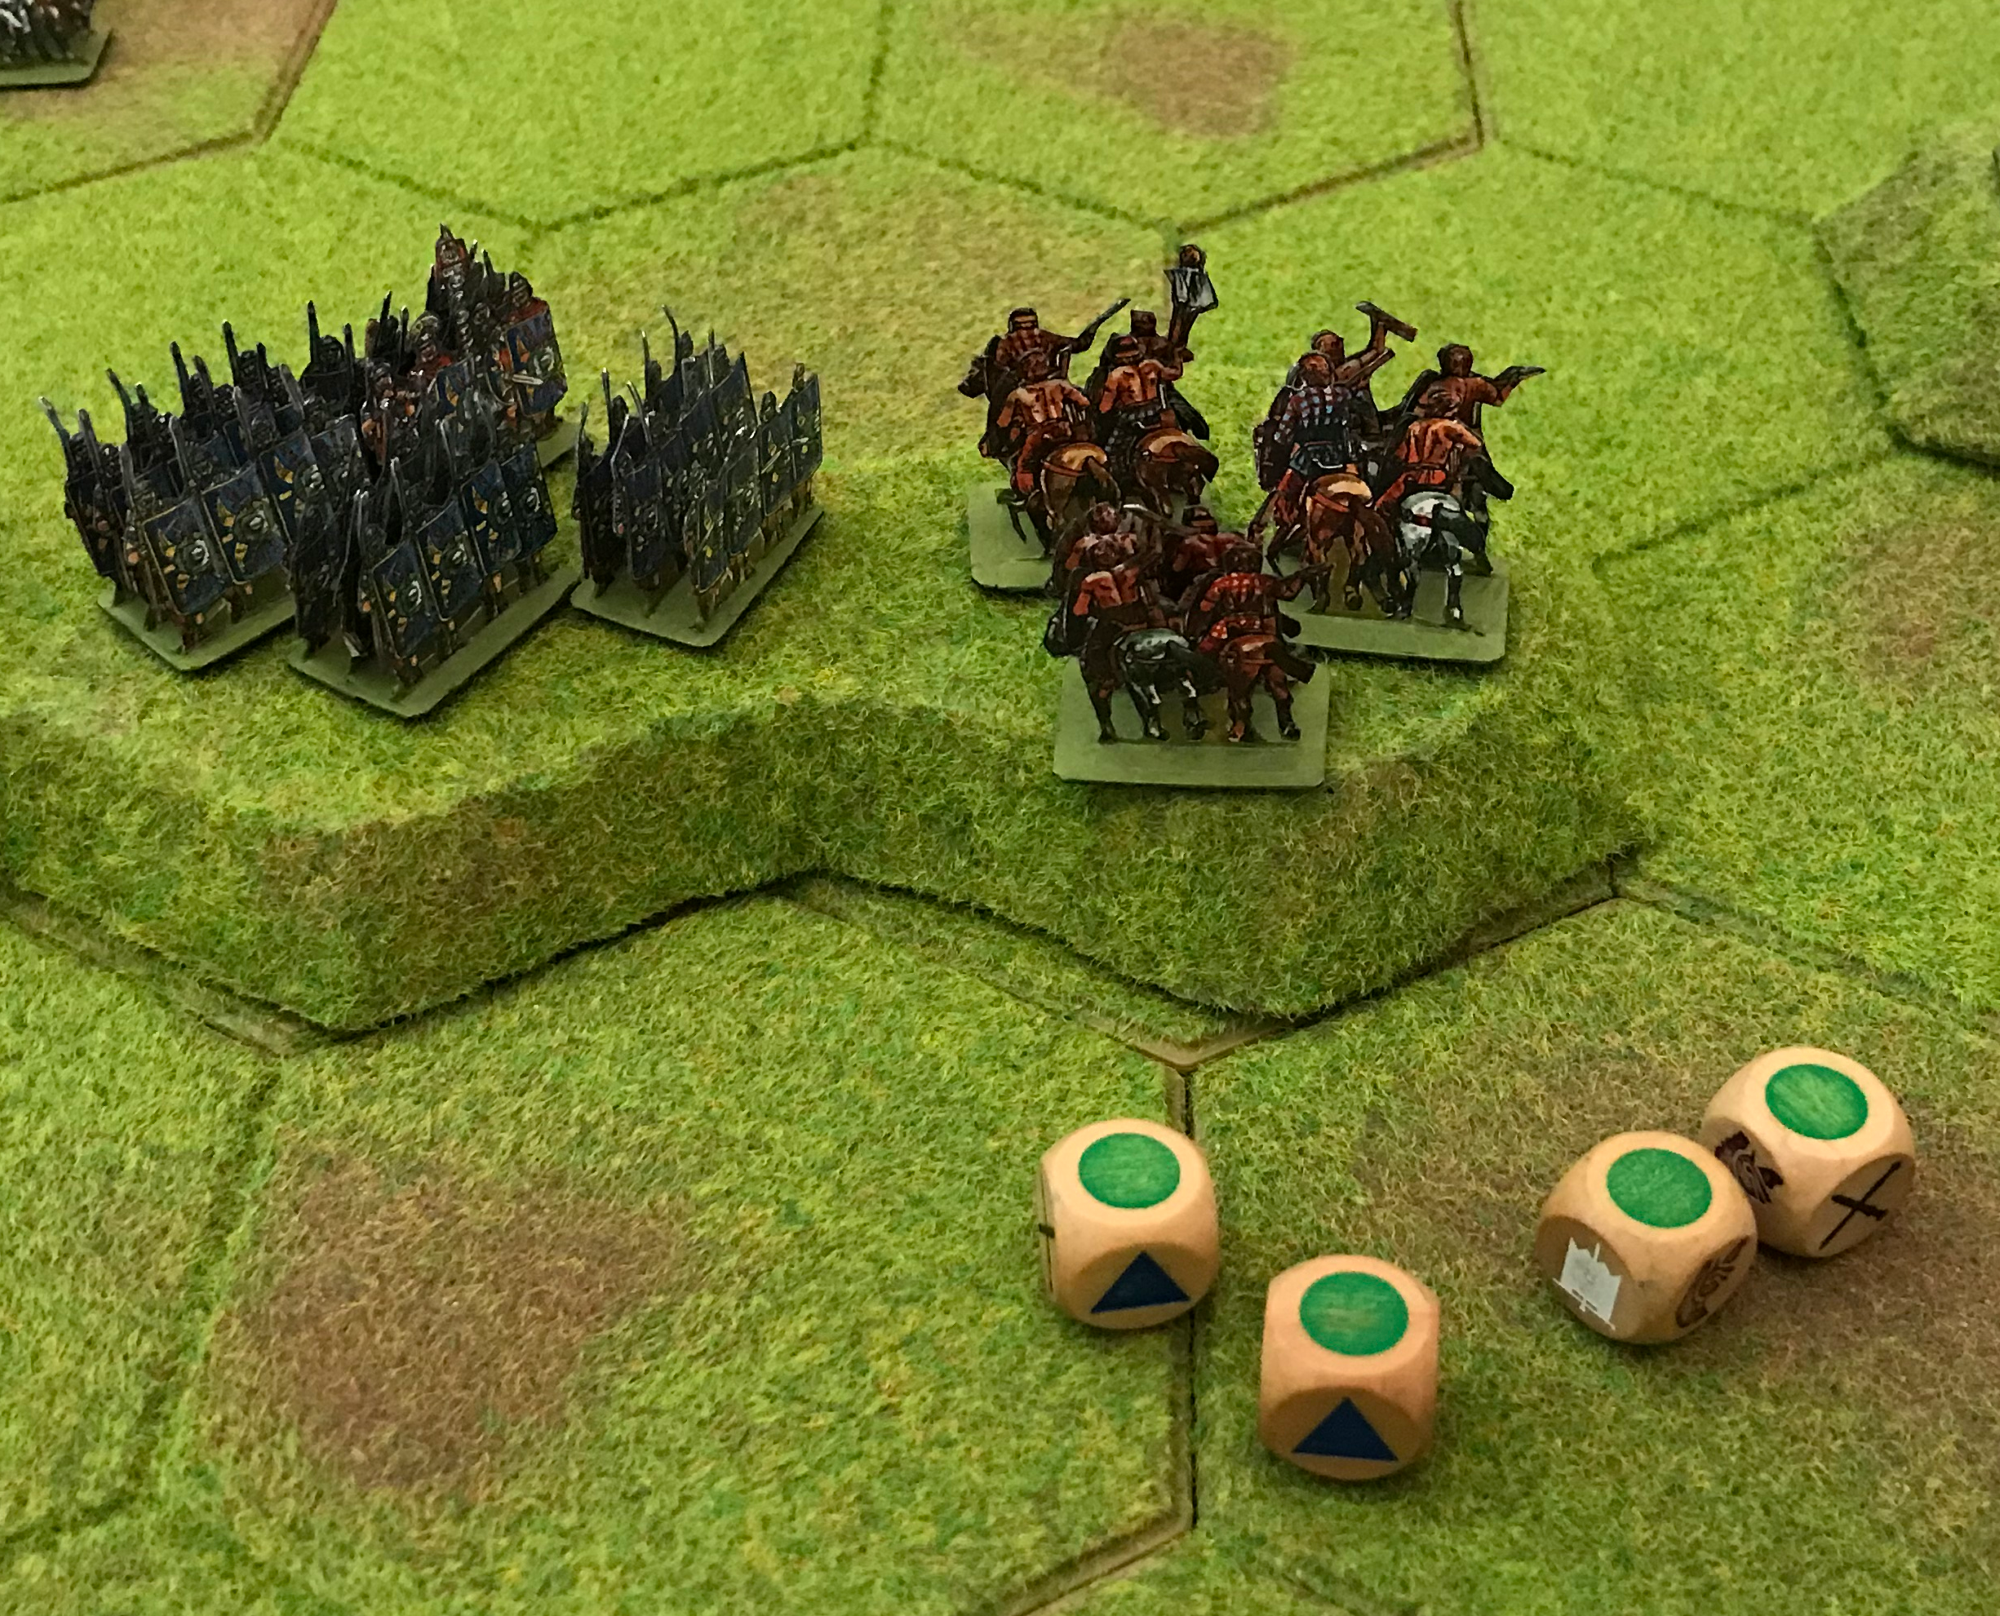
The scenario was played using the Commands & Colors Ancients rules but on hex terrain from Kallistra and using paper figures from Peter Dennis instead of blocks.
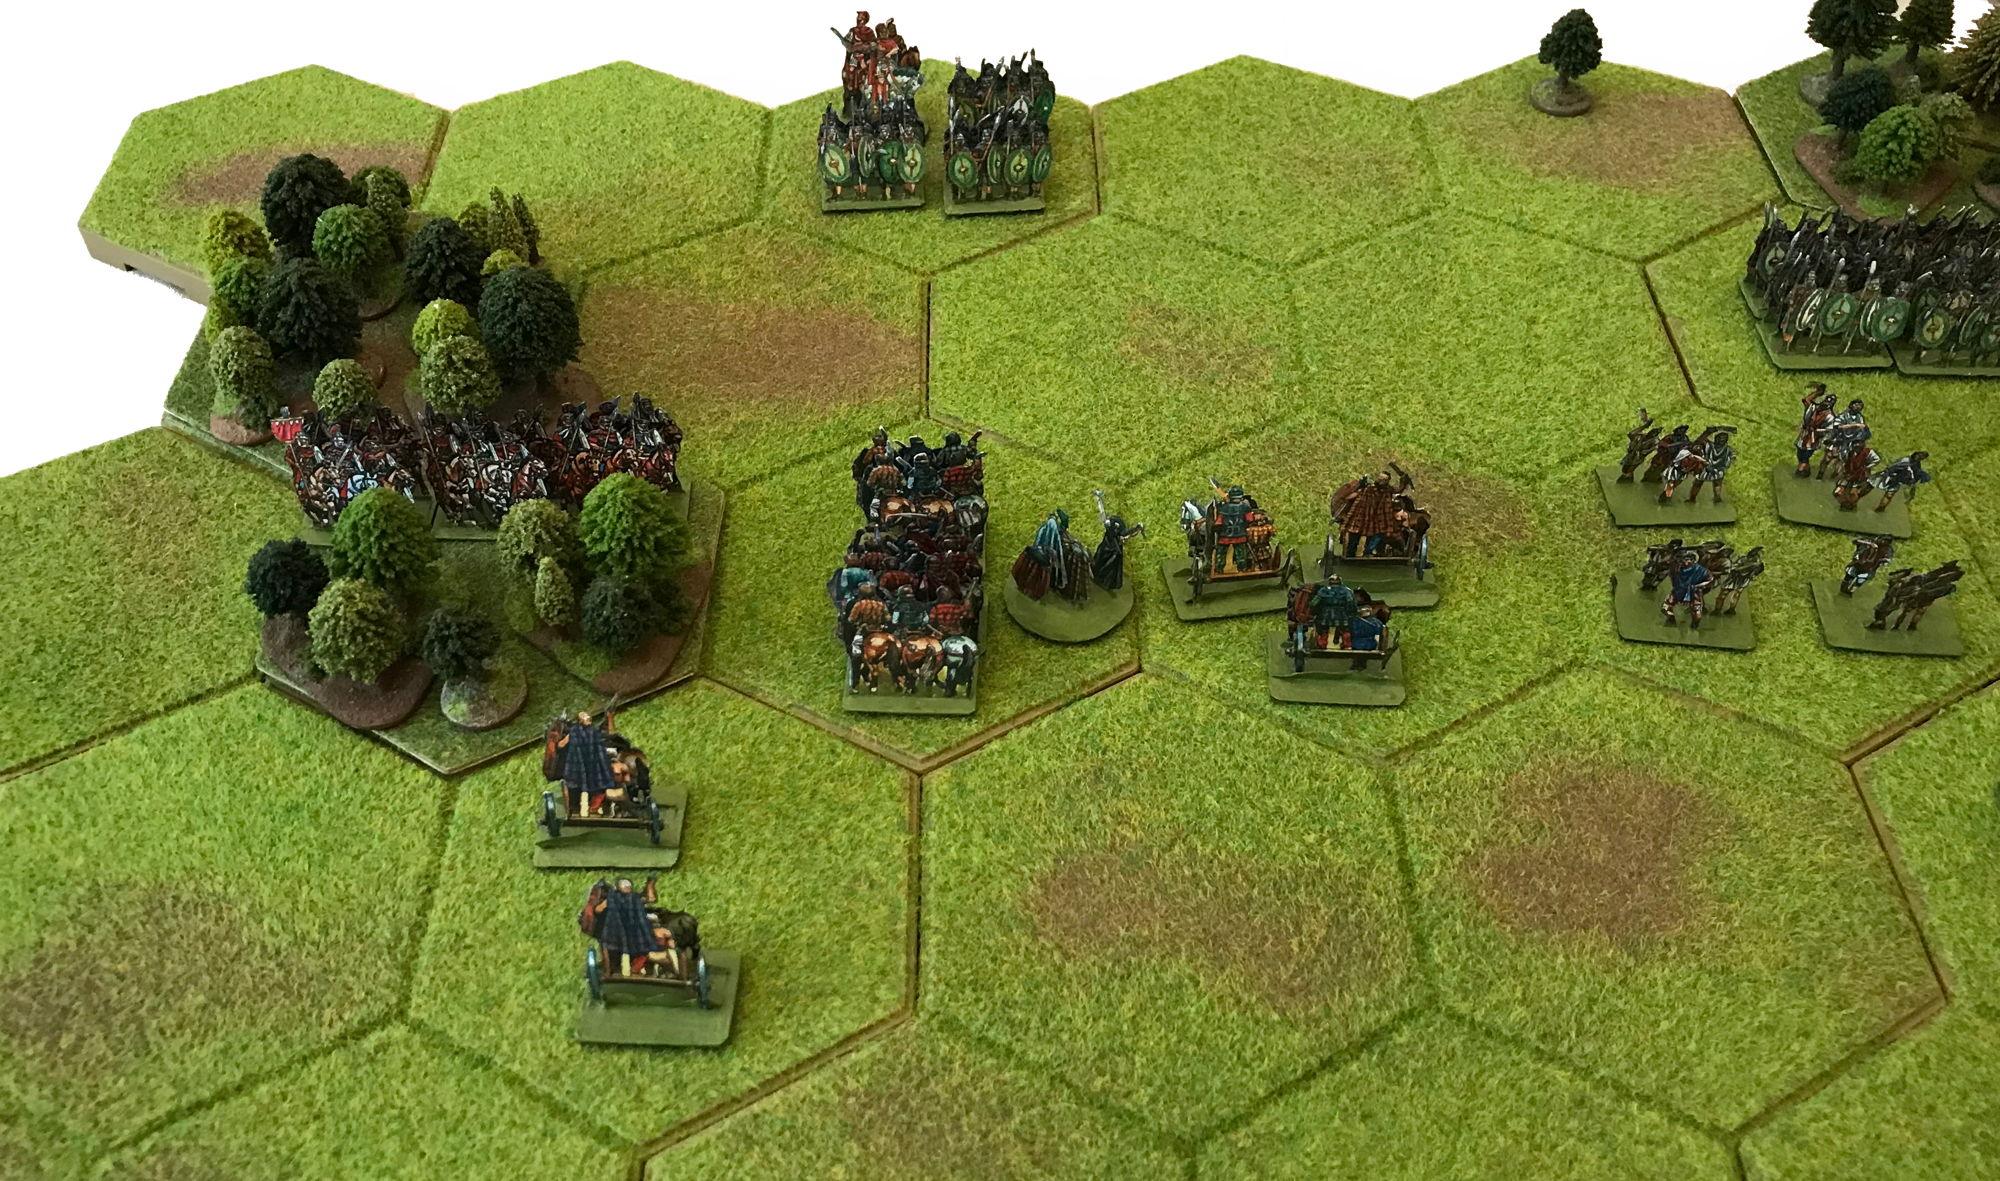
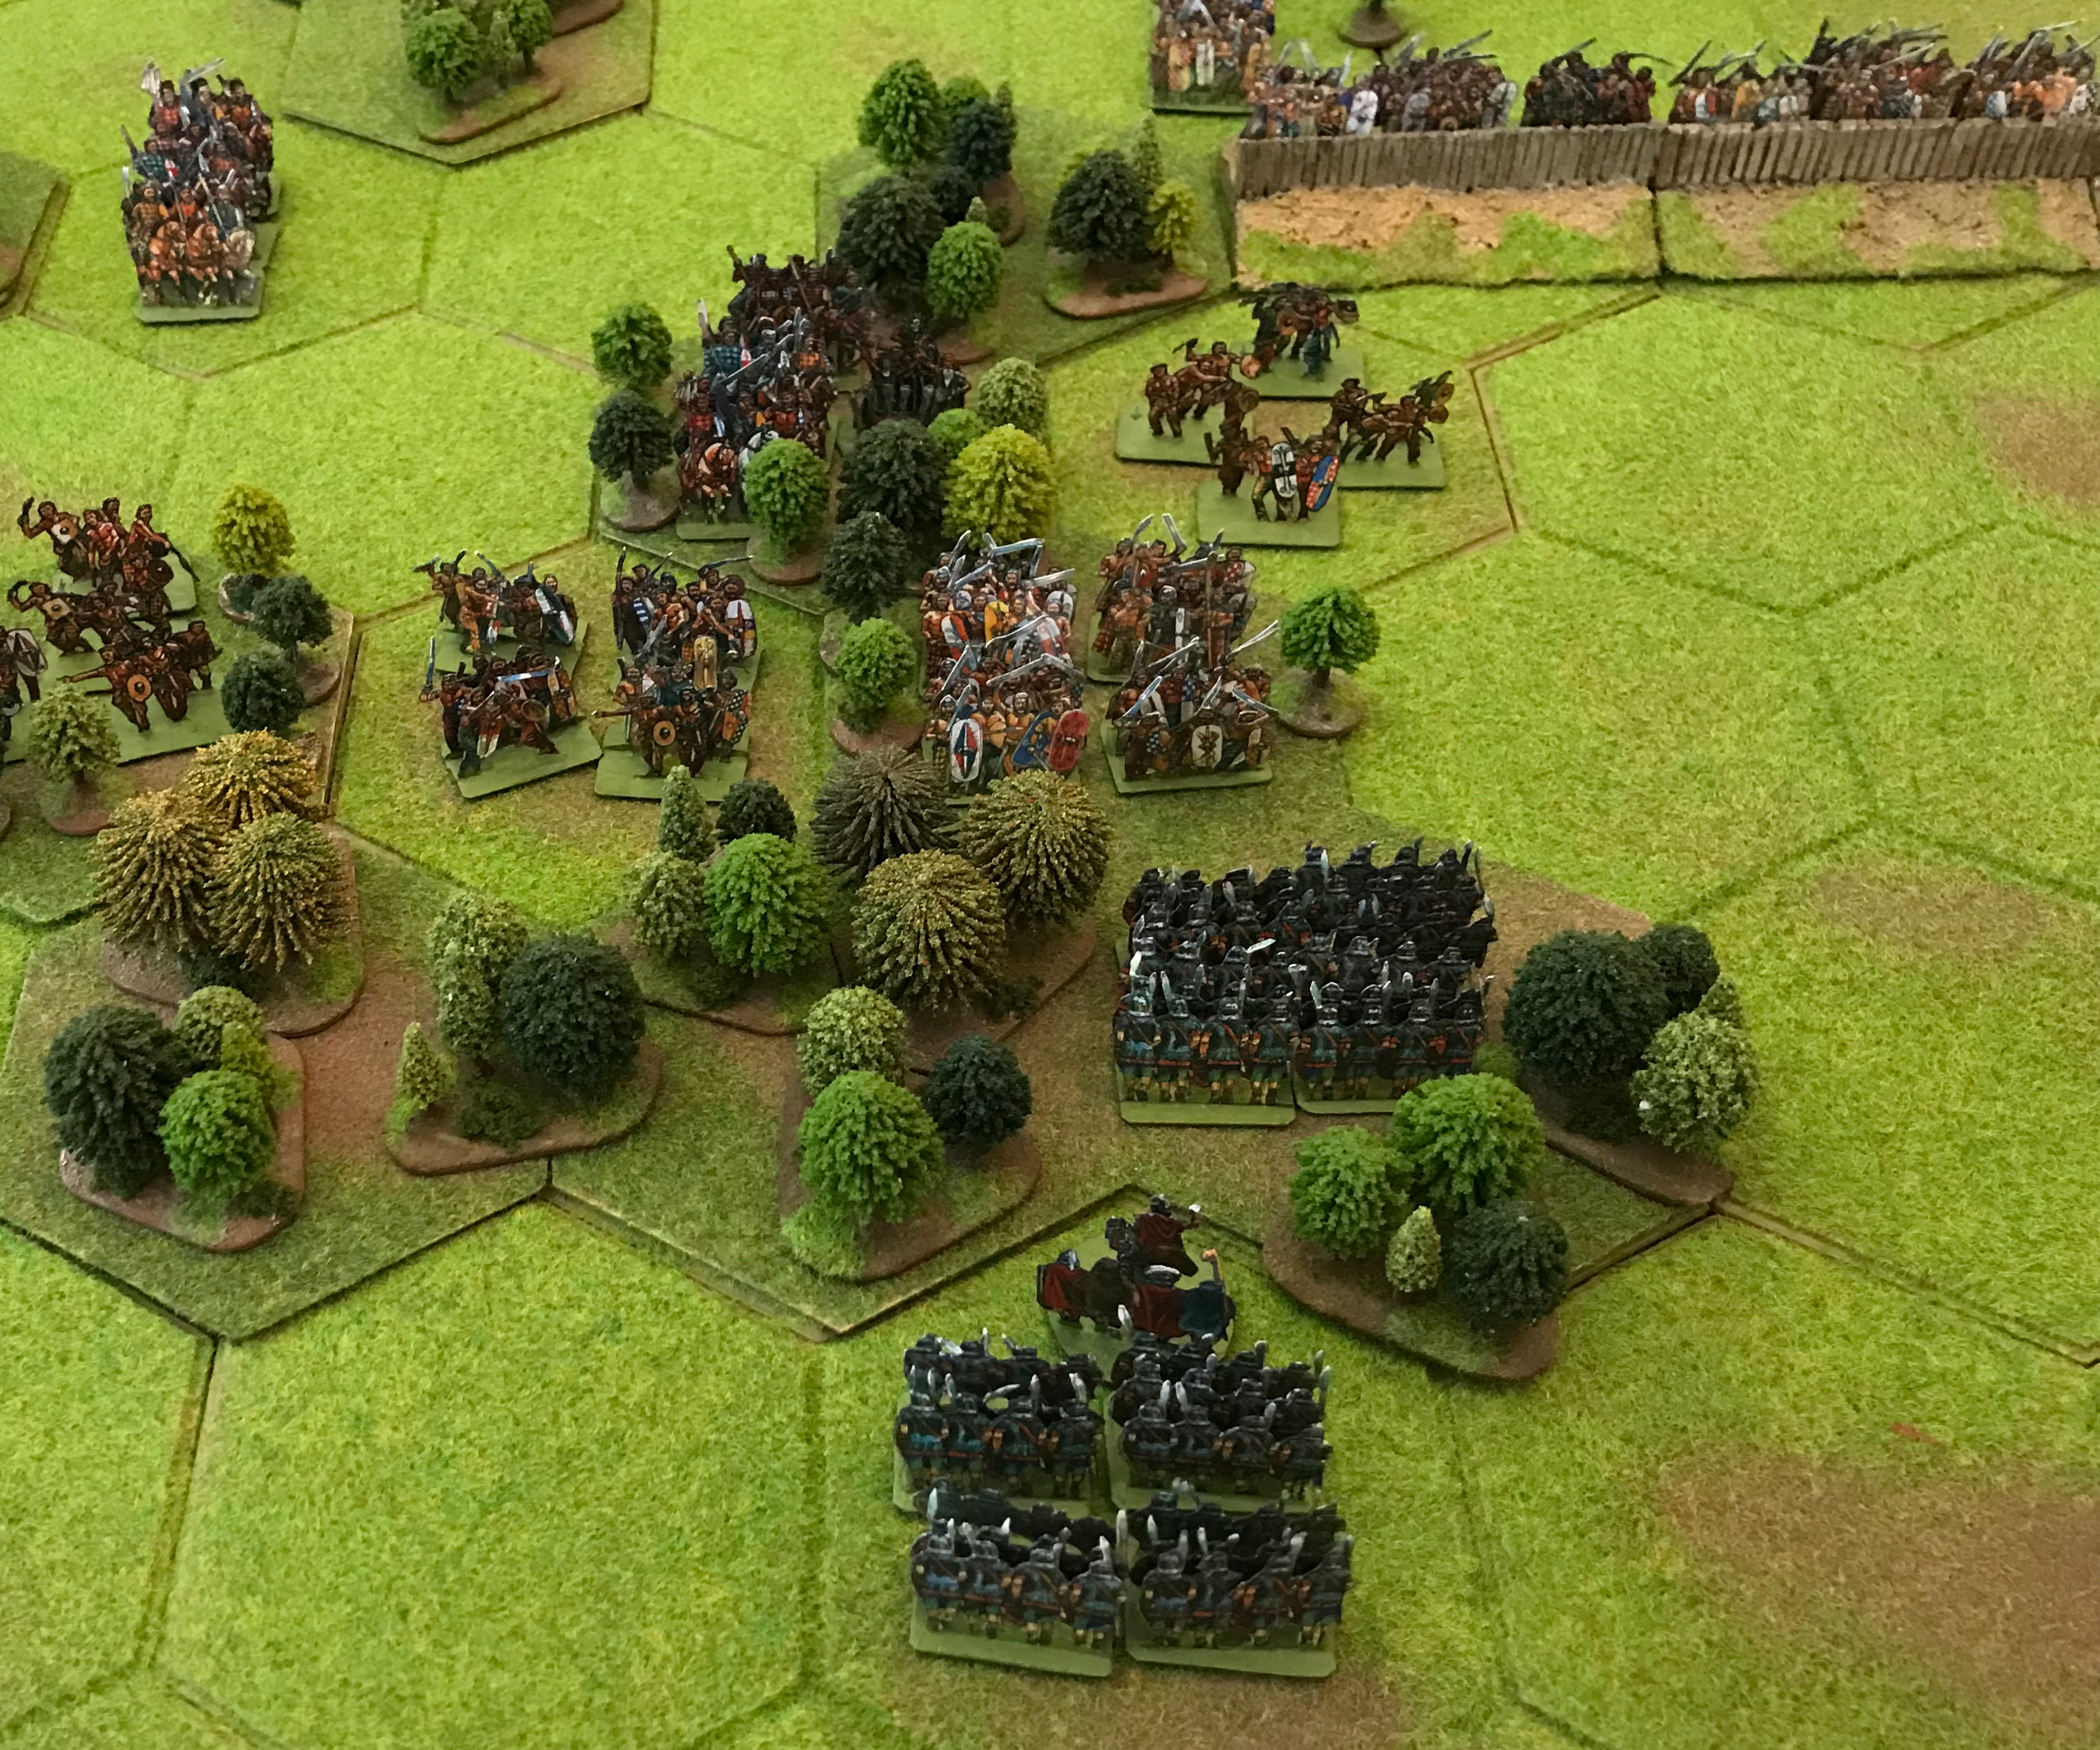
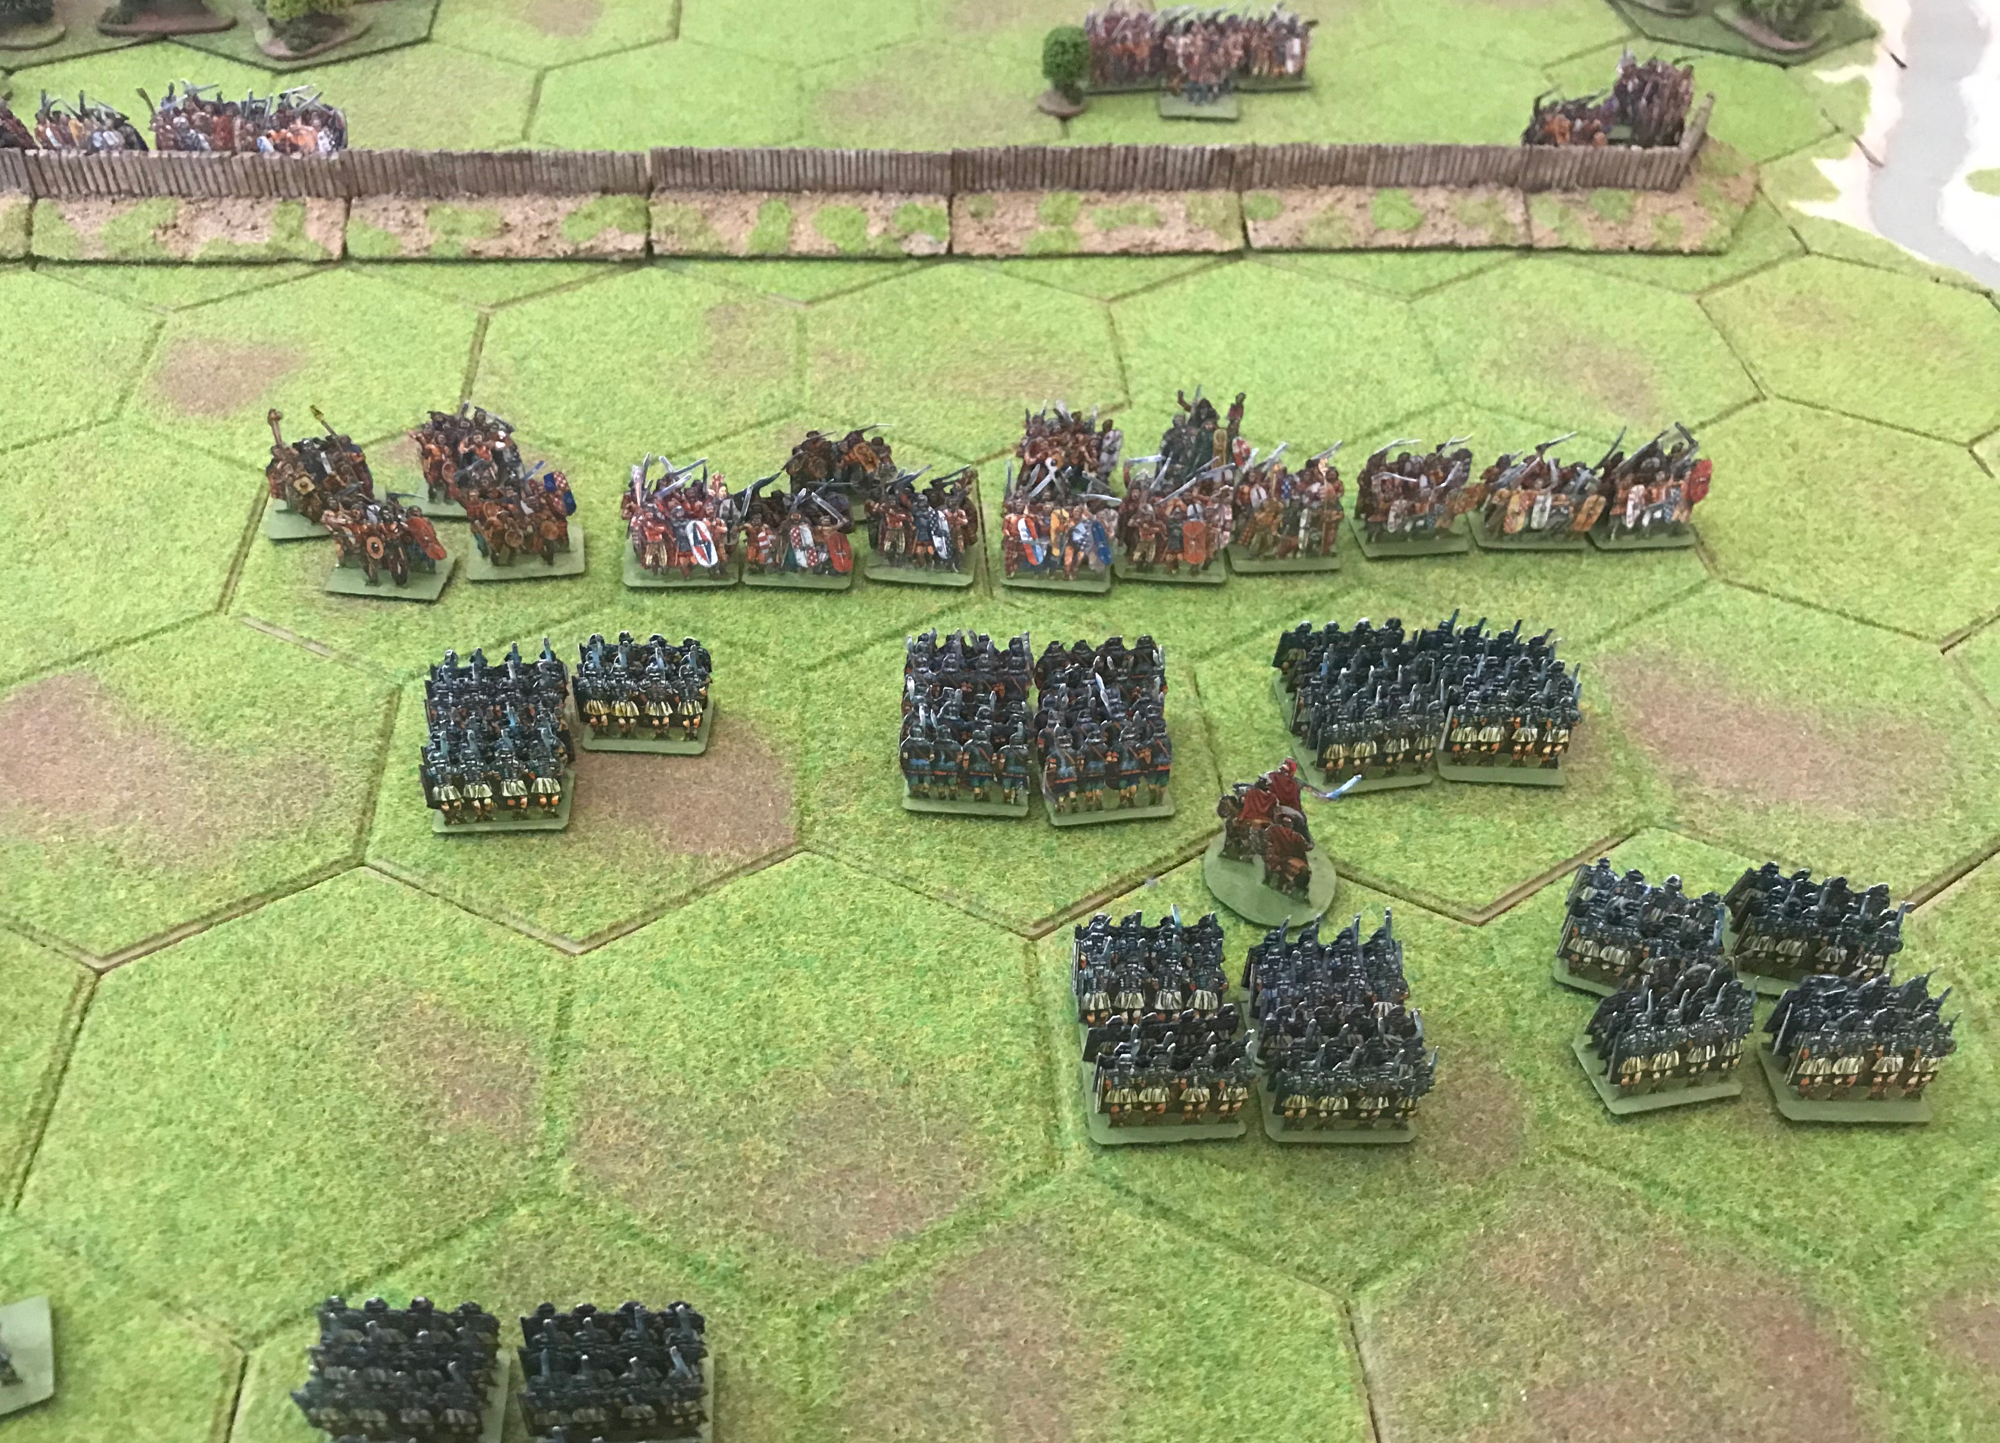
Following the catastrophe at the Teutoburger Wald, Augustus dispatched a series of punitive expeditions into Germany. In 14 AD, Tiberius became emperor and assigned his adopted son Germanicus Julius Caesar to the German province. In AD 16, Arminius decided the time had come to destroy another Roman army. He deployed his Germanic army to ambush Germanicus at a point in a plain between a forest and a deep, broad stream. His infantry waited behind an old boundary rampart while he deployed his cavalry in the woods, waiting to charge out onto the Roman rear.

Germanicus was a far better tactician than Varus. He scouted well and did not fall for the trap, sending auxiliary infantry into the forest to occupy the German cavalry while his legions attacked the ramparts. The first Roman attempt at the ramparts was repulsed, so Germanicus ordered forward his engines and light troops to soften up the Germanic position. The second attack broke through the rampart and the Germans behind the ramparts fled. The battle then shifted to the woods where the fighting went on until dusk. Arminius withdrew in the darkness and the Roman cavalry pursuit was indecisive. Germanicus had won a tactical victory with little strategic impact. Arminius had survived with a depleted but intact army to continue the fight. In the following year, the Emperor Tiberius decided to abandon Germany and fix the limit of the Roman Empire at the Rhine. Roman expansion was at an end, and the Germanic tribes remained free, with dramatic implications for the future of Europe.

The battle commenced when Germanicus ordered two units of auxilia into the forest, and the ballistae on his right flank to advance.

The barbarian skirmishers rushed forth, threw their javelins, and then retired back to safety before they could be attacked. The Roman light infantry on their left flank and the legionaries in the centre took casualties.

The Romans acted on both flanks, advancing their infantry to build up for an attack. The ballistae opened fire on the far right but without success.

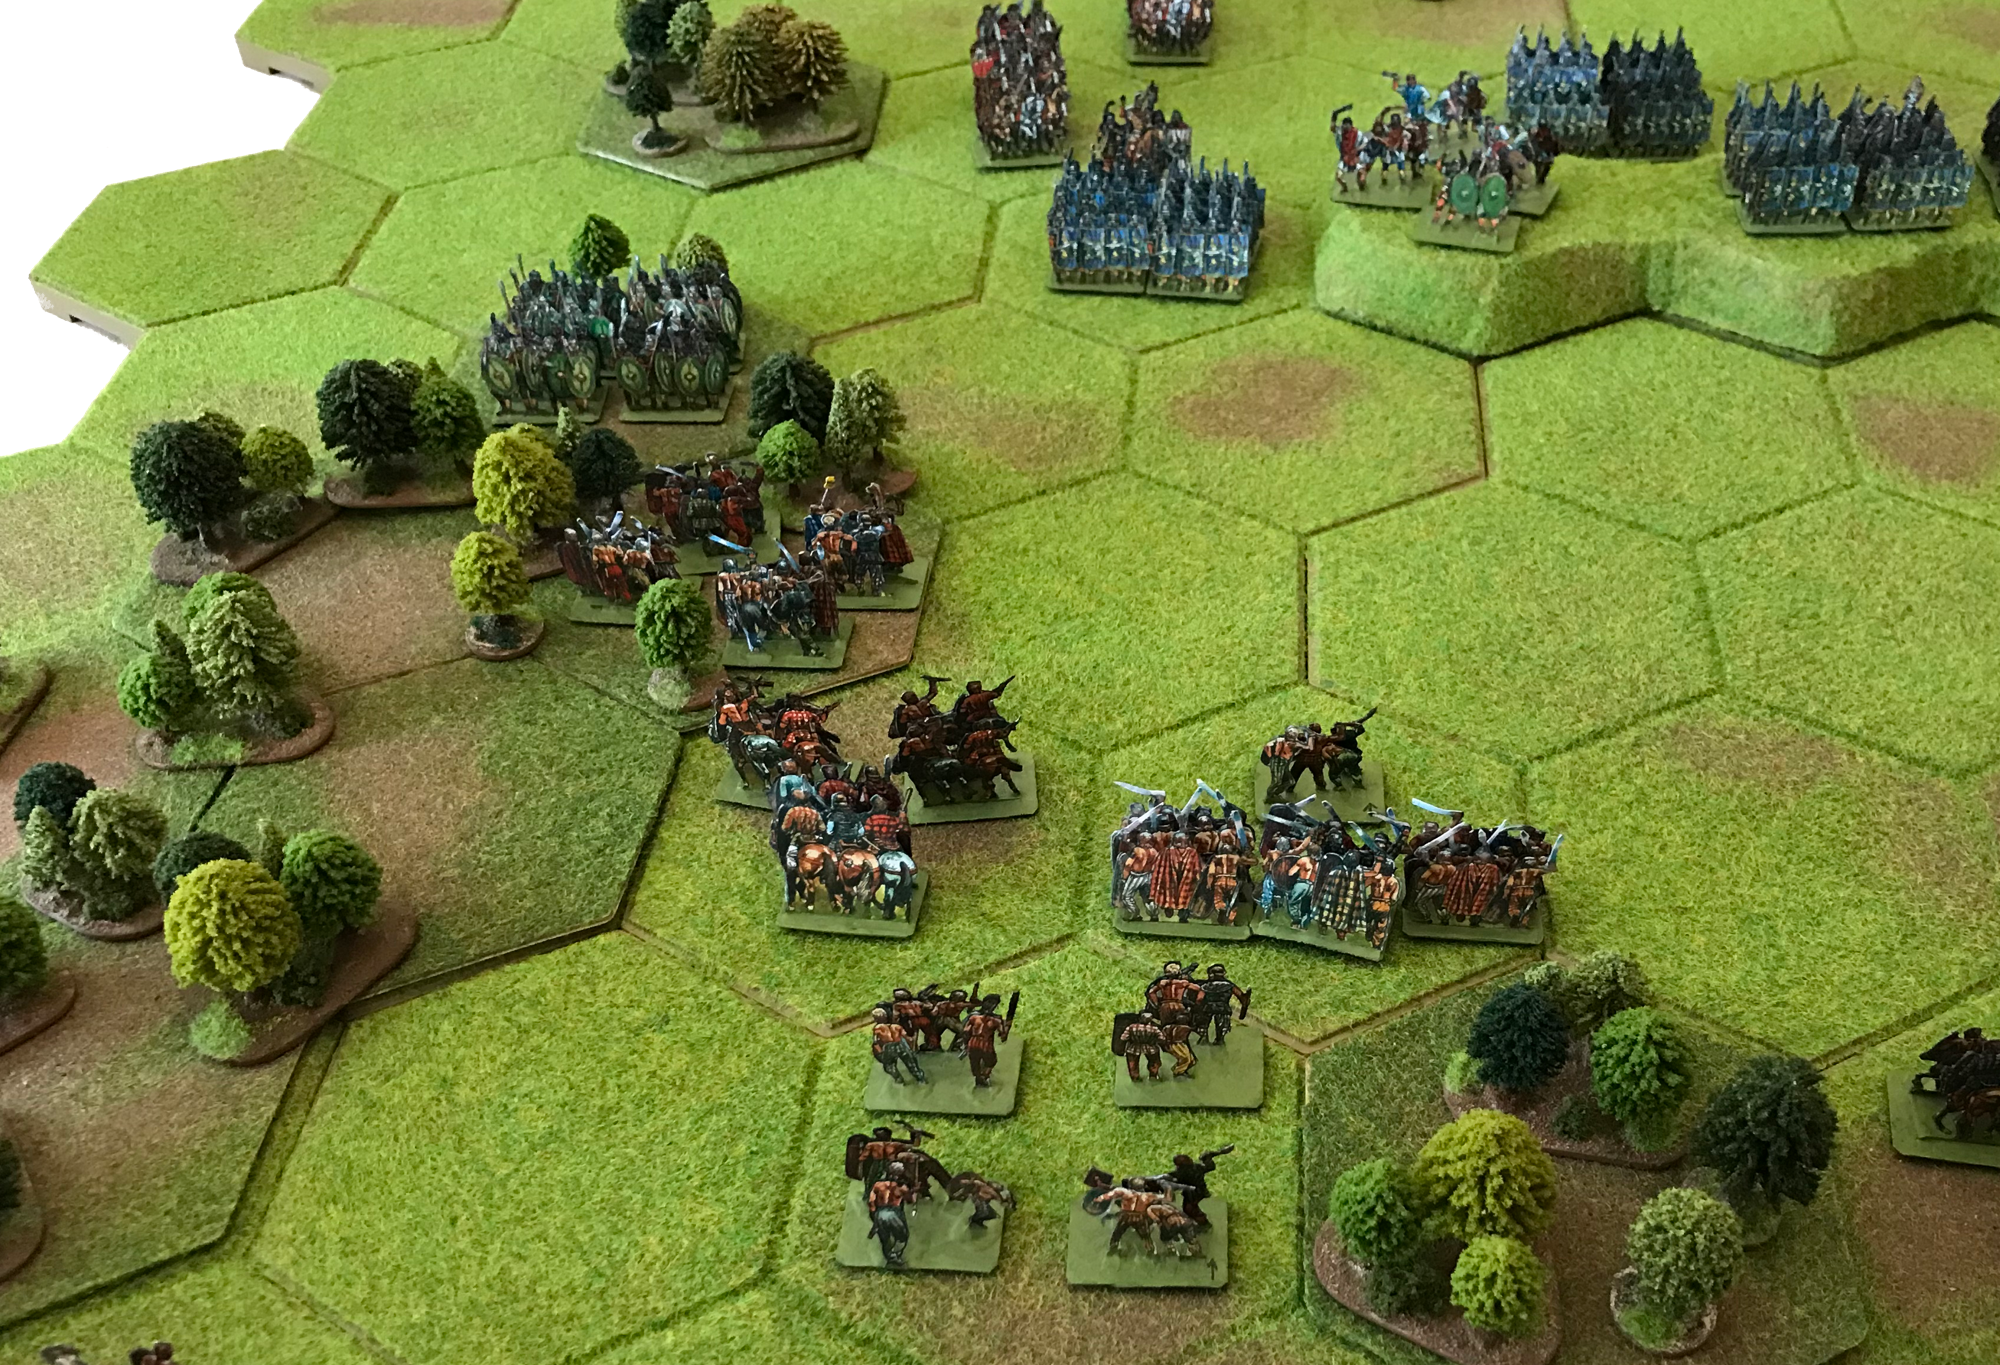
The barbarian leader took his unit and four other and attacked the forest.
The Roman legionaries and the barbarian warriors both took losses.

The Romans didn't want to loose the forest, so the pushed back into it and attacked.

Both sides took losses, but despite having the initiative, the Romans came off worse.

The barbarians pushed forward into the forest.

The lone Roman legionaries were destroyed and their light infantry took losses.

Following their leader, the Romans advanced two units from their centre.

The legionaries destroyed a unit of barbarian warriors and their supporting light infantry fled.

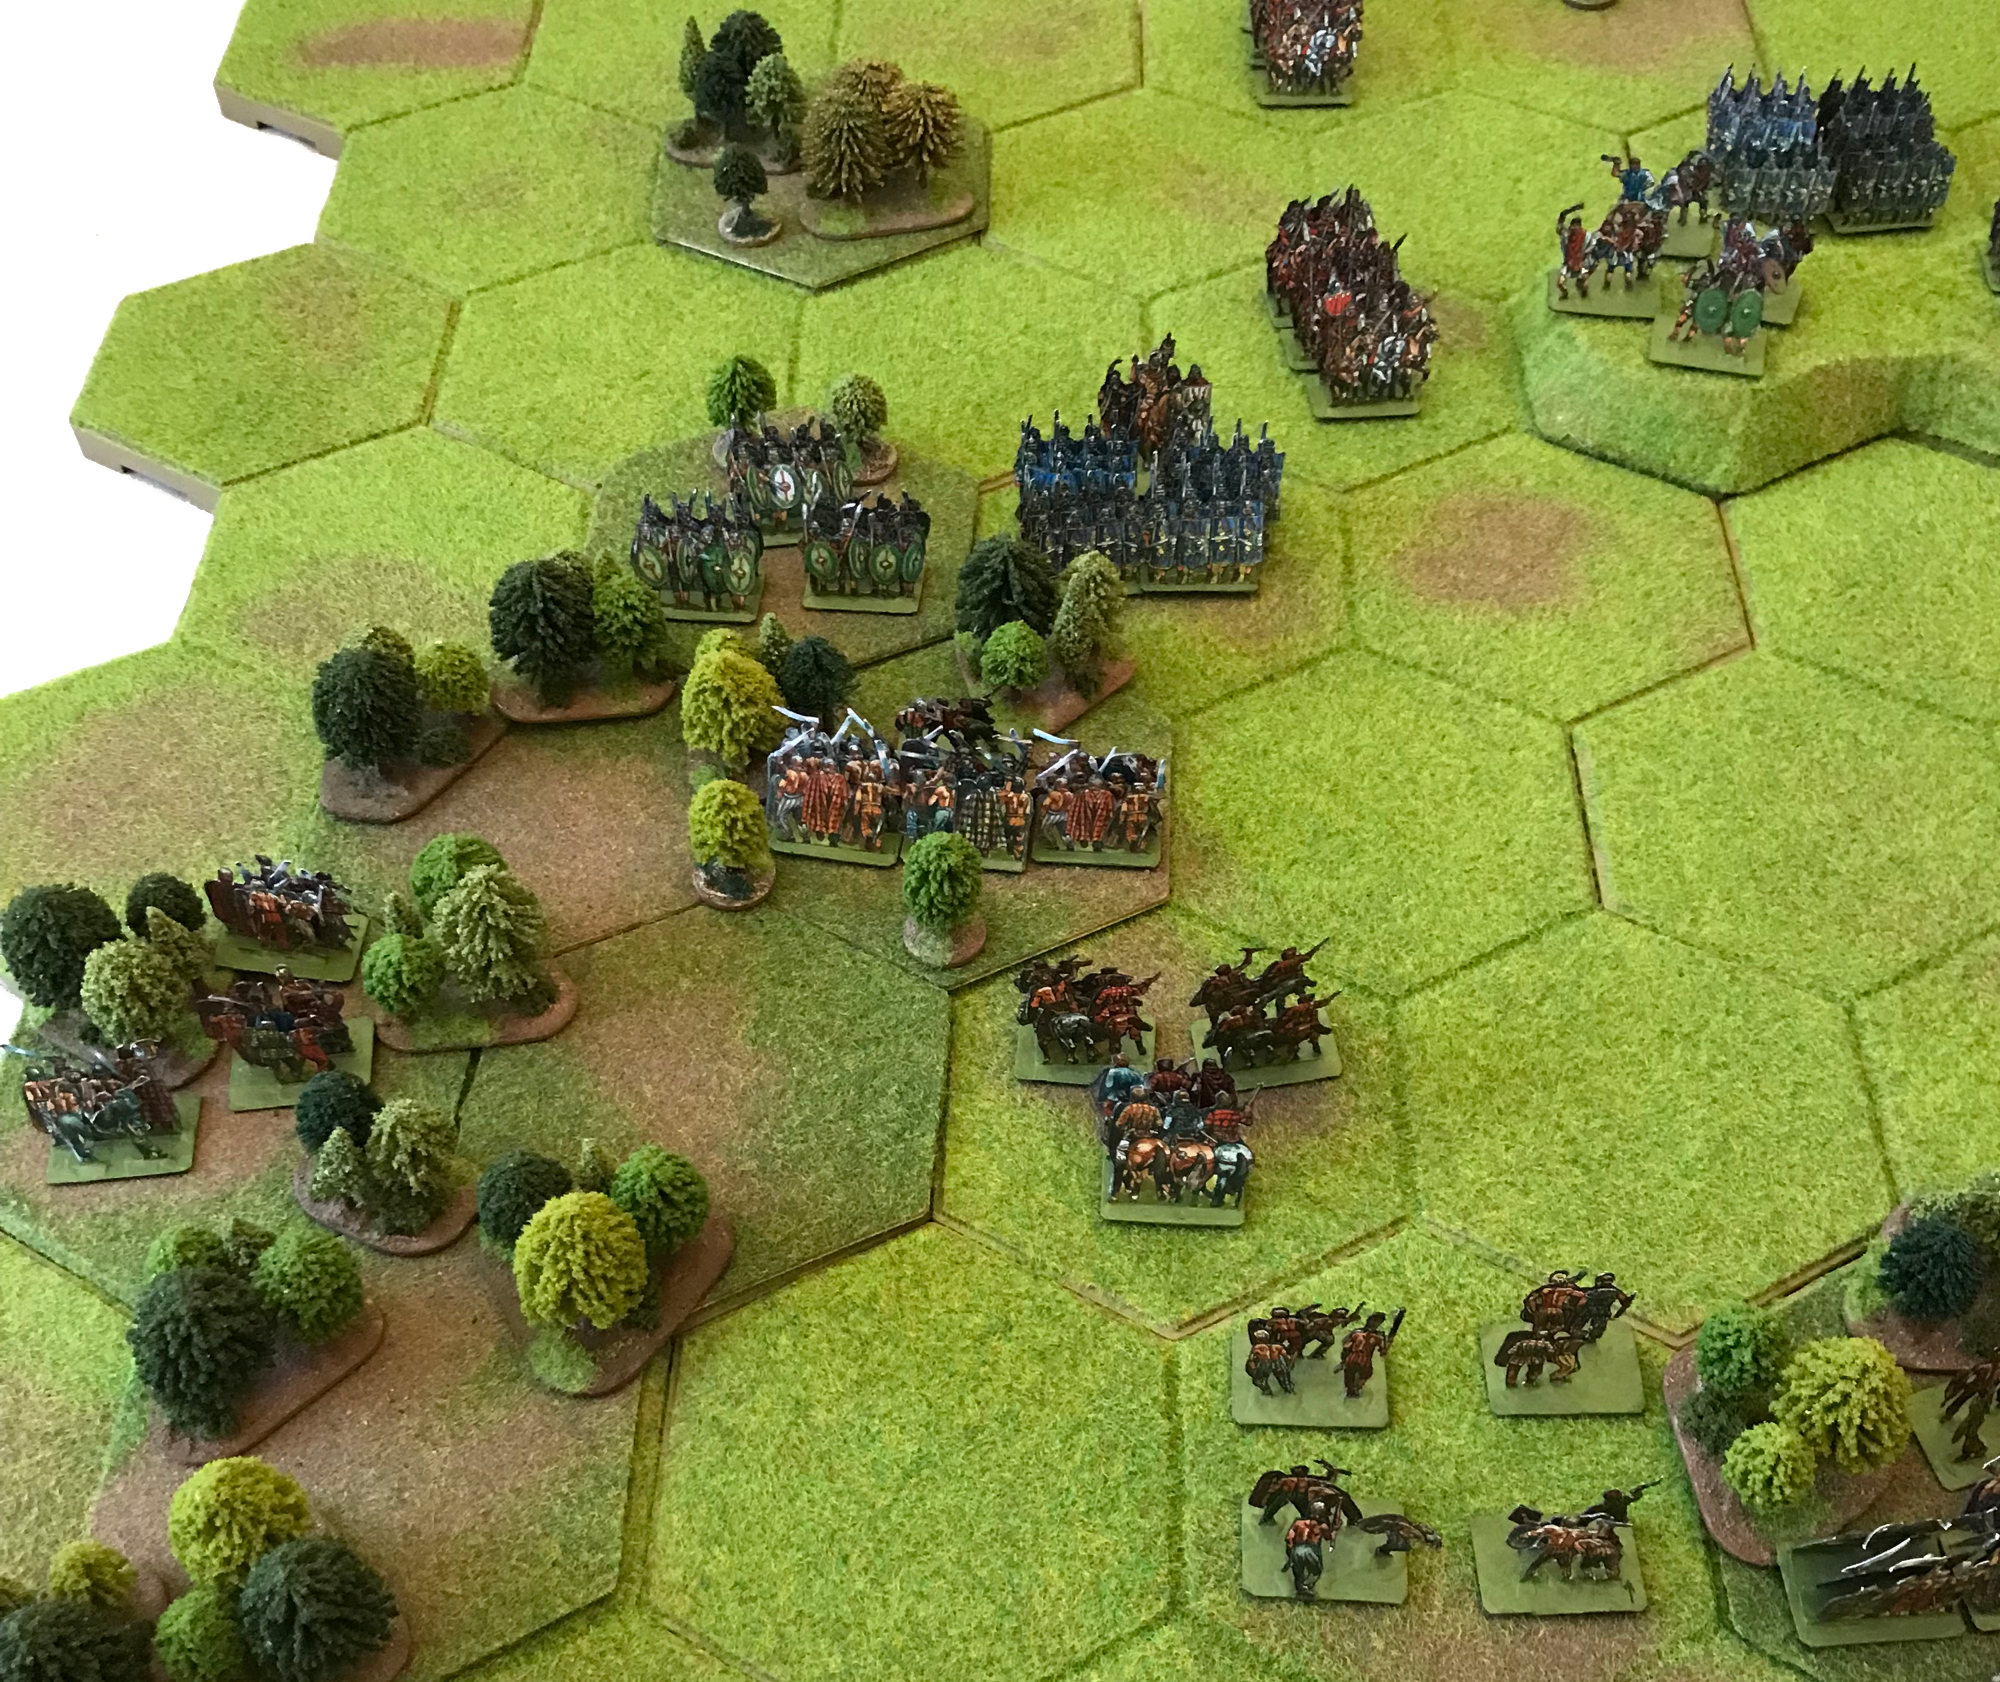
Thinking that the Romans were busy in the forest, the barbarians charged out of their ramparts at double time and attacked the Roman front line.
The Romans lost heavily but did manage to inflict some casualties in return.

Inspired by their commander, the Romans attacked.
With slight losses to themselves, the pushed back the barbarians and caused 50% casualties to their right flank unit.

The barbarians decided they had been a little too impetuous when the advanced out from the safety of their ramparts, so they double-timed back to the fortification.

The Romans attacked yet again in the forest.

And still not having learnt their lesson, took heavy losses.

While at the same time on their right flank, the ballistae went into action.

Loaded with iron tipped bolts, they shot at the depleted unit of warriors with their leader standing in front of the tree.

The barrage of ballistae bolts destroyed the unit, and one bolt killed their commander outright.

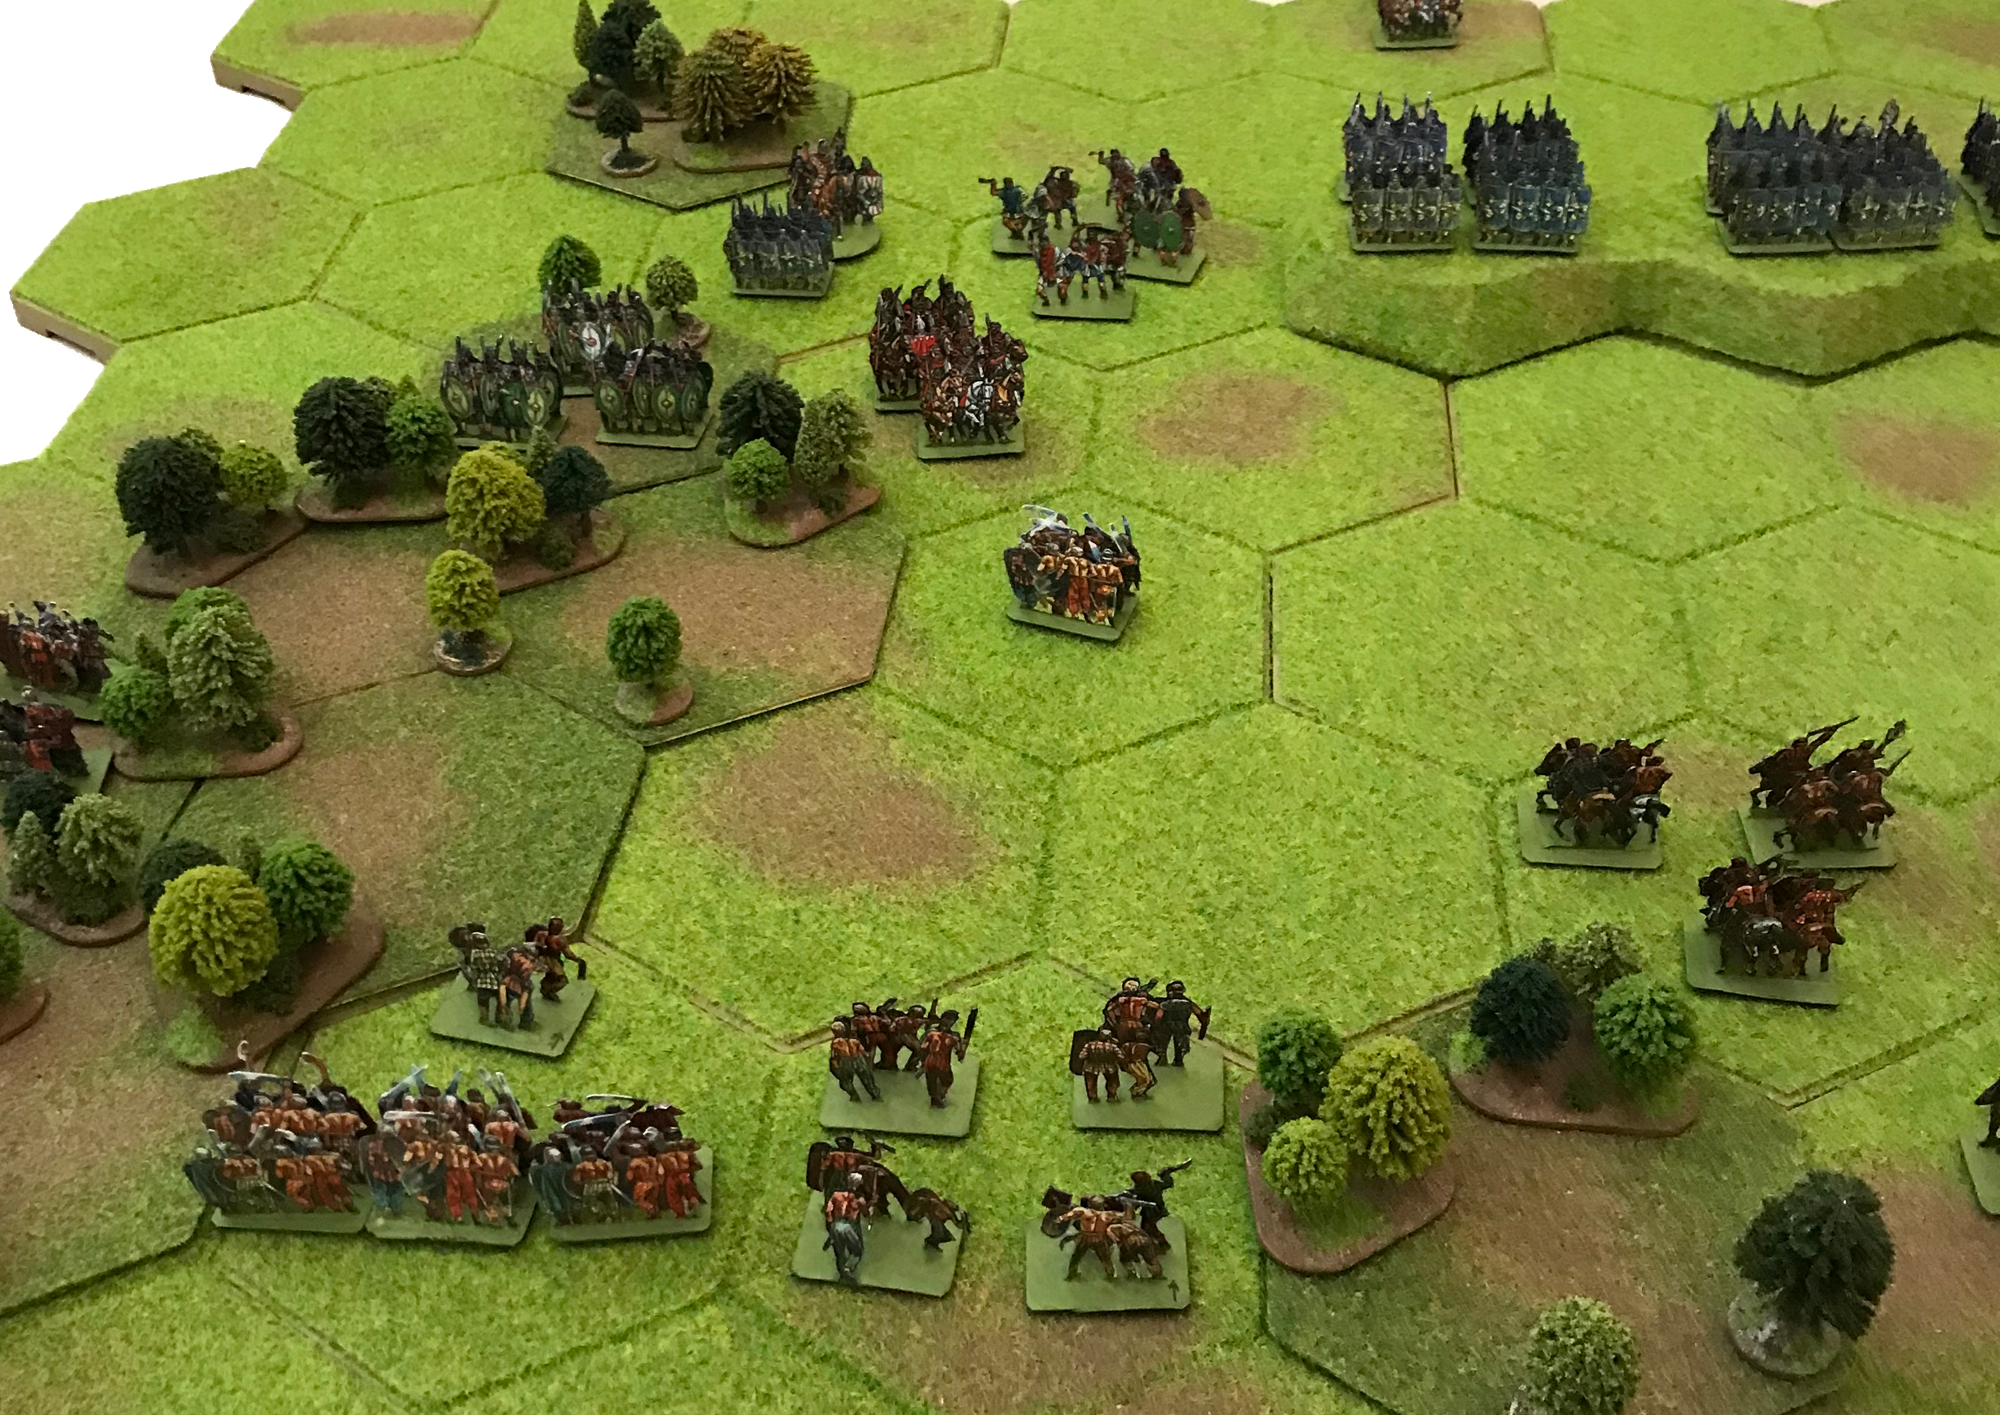
The barbarians in the forest, wiped out the Roman light infantry to their front. Ignoring this, the Roman line advances towards the ramparts.

The barbarian commander ordered a mounted charge in the forest, wiping out all Roman resistance there and even almost eliminating the supporting unit of Roman allies.

While the Roman commander was preparing for an attacking the the centre, the barbarian commander ordered a second mounted charge from the forest.

This wiped out the Roman allied warriors and caused the supporting light infantry with their commander to evade.

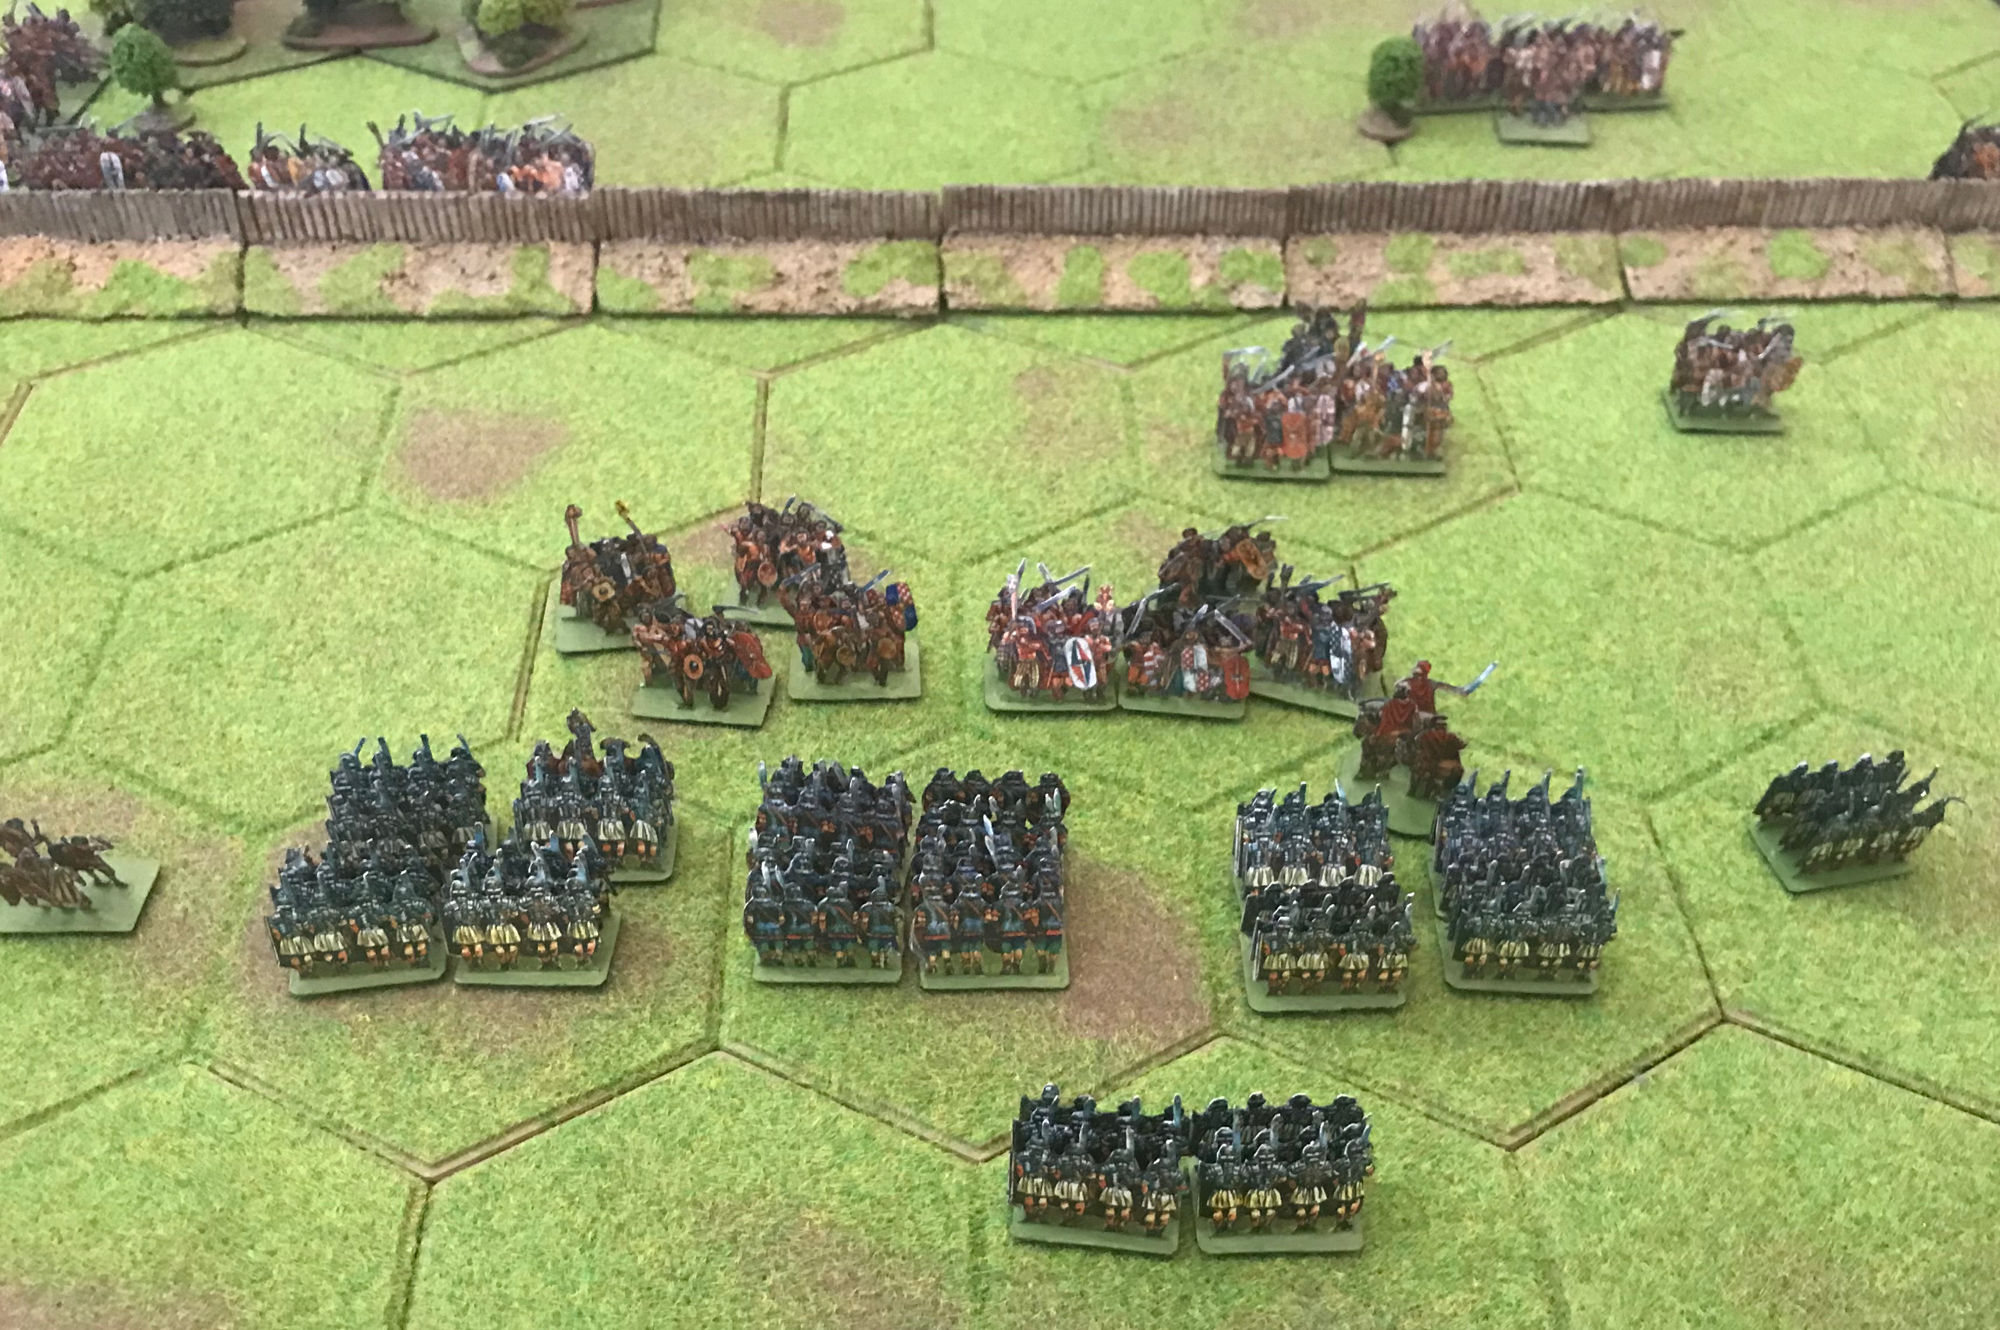
The Roman commander ordered the three legionary units in his centre to attack the ramparts.

The Roman legionaries stormed over the ramparts and eliminated the barbarians defending them.

Seeing their fortifications captured, the entire barbarian army lost heart. Demoralised, it fled the field leaving the victorious Romans to pick up the spoils.
For Germanicus, this victory came in the nick of time. The Roman left flank was in trouble, the barbarian cavalry was exiting the forest and about to pounce on the lone light infantry unit. But when the ramparts fell to the legionaries, even this cavalry turned and left the battlefield.

A very exciting game, that hung in the balance until the last turn. It could have gone either way!