Lone Sherman is a wargame that puts the player in charge of a Sherman tank somewhere in France after the Normandy invasion. It has fun and challenging missions, but is not completely historical, as a Sharman would not operate alone without support. Lone Sherman was written by Mike Lambo.
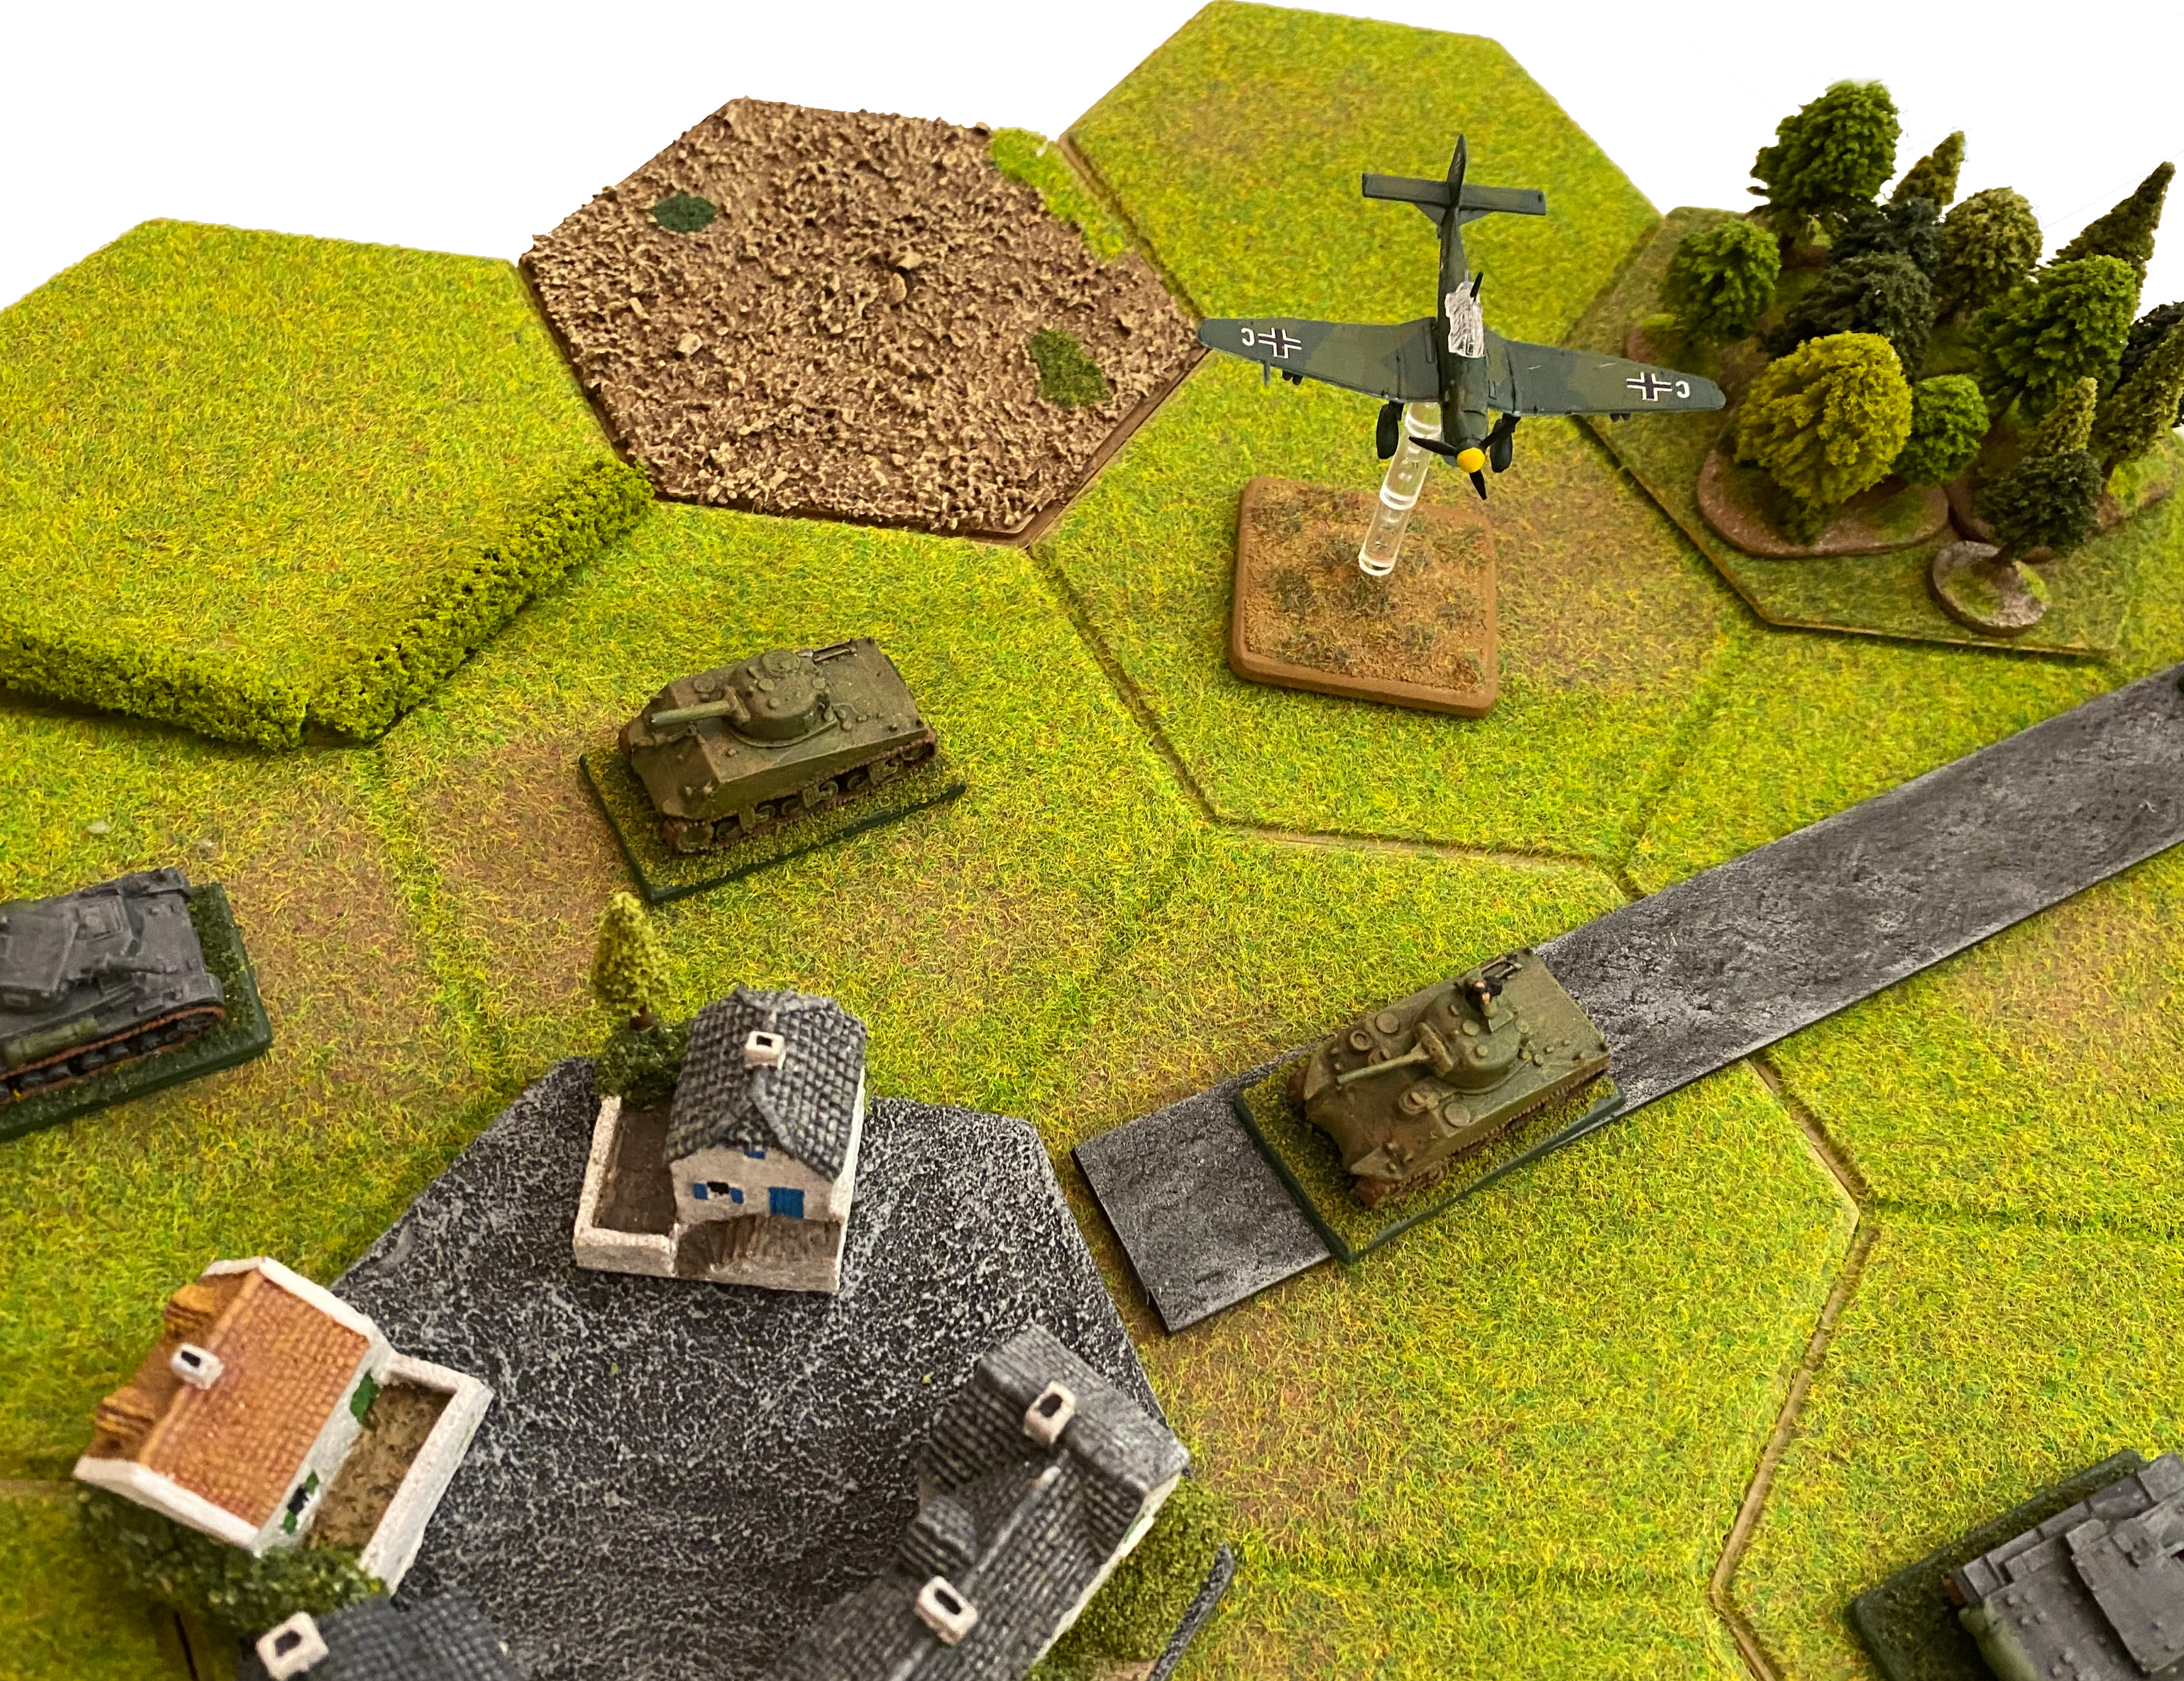
The game can be played on a map using counters, but I use 12mm Minifigs models on hexes from Kallistra, houses from Total Battle Miniatures and trees from Timecast.
The Sherman was commanded by Staff Sergeant Martin Lundgren from Minnesota.
Mission 2 - Tiger Hunt
This mission requires the Sherman to eliminate the Tiger Tank and exit the board at the opposite point. There is no time limit as such, but the more time the Sherman takes, the more unfortunate events can occur. These can include such things as the arrival of more German tanks, infantry or air support.
The Sherman was moving cautiously through a small French village (at the bottom of this map) when its command, Staff Sergeant Martin Lundgren, heard the rumble of a Tiger heavy tank on the road to his left. He could also, just make out a lighter Panzer III tank in the houses down the road to his right. Although the Sherman couldn't see it, a second Panzer III was lurking in the muddy fields by a farmyard further ahead.

Deciding that it would be easier to take out the Panzer III, rather than facing a Tiger head-on on the road, the Sherman turned right. The Panzer III advanced out of the village into the fields and opened fire on the Sherman, but did no damage. The Tiger advanced down the road, but as the commander could not get a shot at the Sherman, he fired his smoke grenades to create some cover. The second Panzer III stayed lurking in the safety of the farmyard behind a smoke screen. German infantry with a Panzerschreck were seen by the Sherman occupying the far village.

The Sherman moved further along the road and then turned towards the Panzer III to get a flanking shot. However yet again, the Sherman failed to damage the Panzer, so it put out a smoke screen for cover. The Panzer returned fire but also without success. The Tiger mover forward to the fork in the road, and even it opened fire on the Sherman without success. The tank gunners on both sides were having an unlucky day. Hearing the canon fire, the second Panzer III advanced very cautiously towards the battle. More Panzerschreck armed German infantry were seen occupying the houses near the Tiger.

When the smoke screen cleared, the Sherman opened fire yet again at the Panzer III, Firing a point blank range into its rear, the Panzer III was destroyed and went up in flames.

The Sherman then turned its gun onto the Tiger. It was a large target, so easy to hit but with more luck that skill the shot penetrated the front side armour and even the Tiger started to burn. The Sherman then renewed its smoke screen. The second Panzer III continued its cautious advance, it entered the village and opened fire on the Sherman, but could not get a hit because of the smoke screen.

The Sherman advanced into the field with the burring Panzer III and turned to face the second Pamzer III in the village. It opened fire on the Panzer without success, so it found a hull-down position and created a smoke screen. The Panzer III then advanced out of the village on the road, attempting to flank the Sherman. The Panzer III opened fire and hit the Sherman immobilizing it.

The German commander had called up support from the Luftwaffe and a nearby Stuka responded. It dived at the Sherman and Staff Sergeant Martin Lundgren opened fire with his turret mounted .50-cal machinegun. This caused the Stuka to flinch and miss its target.

The stationary Sherman opened fire on the Panzer and damaged it, but failed to knock it out. The Panzer returned fire, but as the Sherman was Hull Down, it was a small target and the Panzer missed. The Sherman's assistant driver managed to rectify the problem that had immobilized the tank, and it was now mobile again.

The Sherman opened fire on the damaged Panzer, it was an easy target at close range, and this time the shot destroyed the Panzer.

The enemy having been neutralised, the Sherman continued on its way with no further problems arising.